Baked Chicken Legs
763 Comments
Posted: 07/27/20
Updated: 09/15/21
This post may contain affiliate links. Please read our disclosure policy.


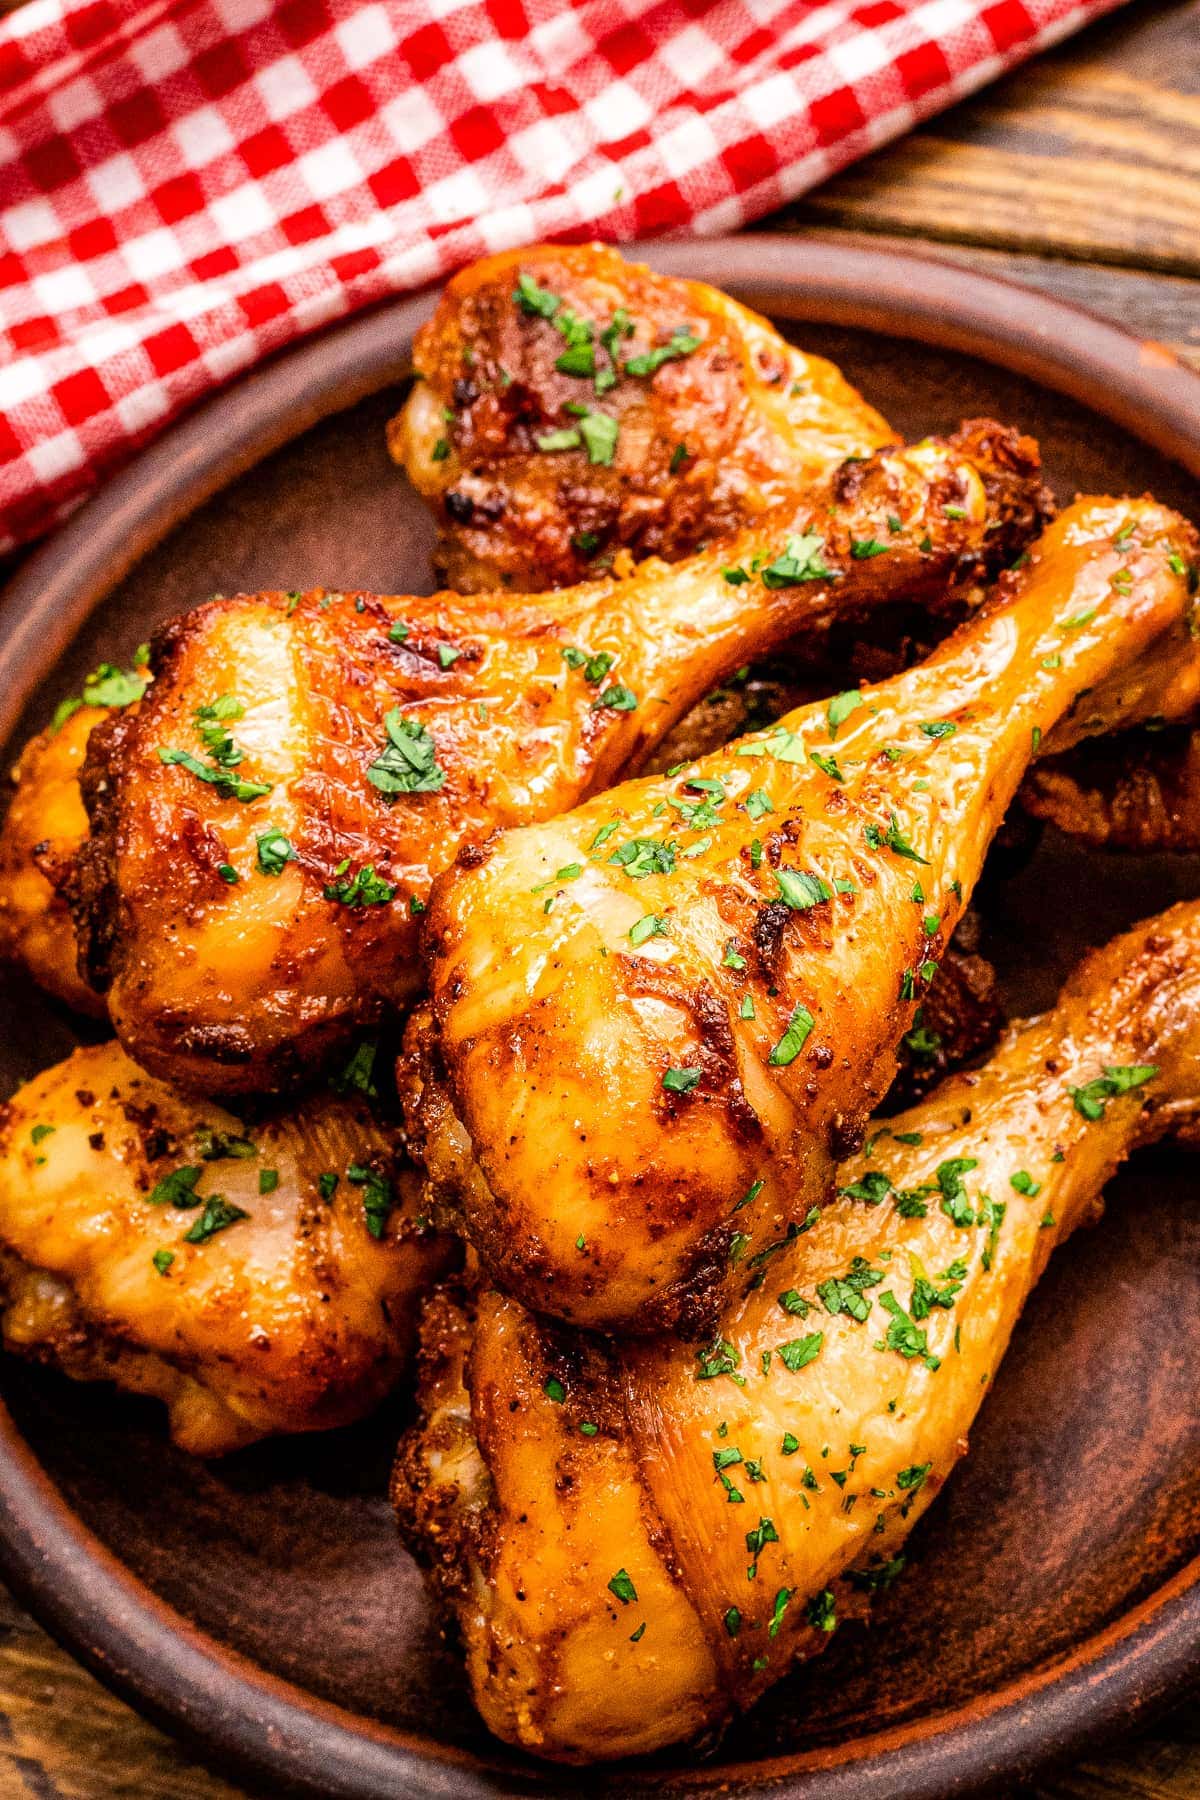
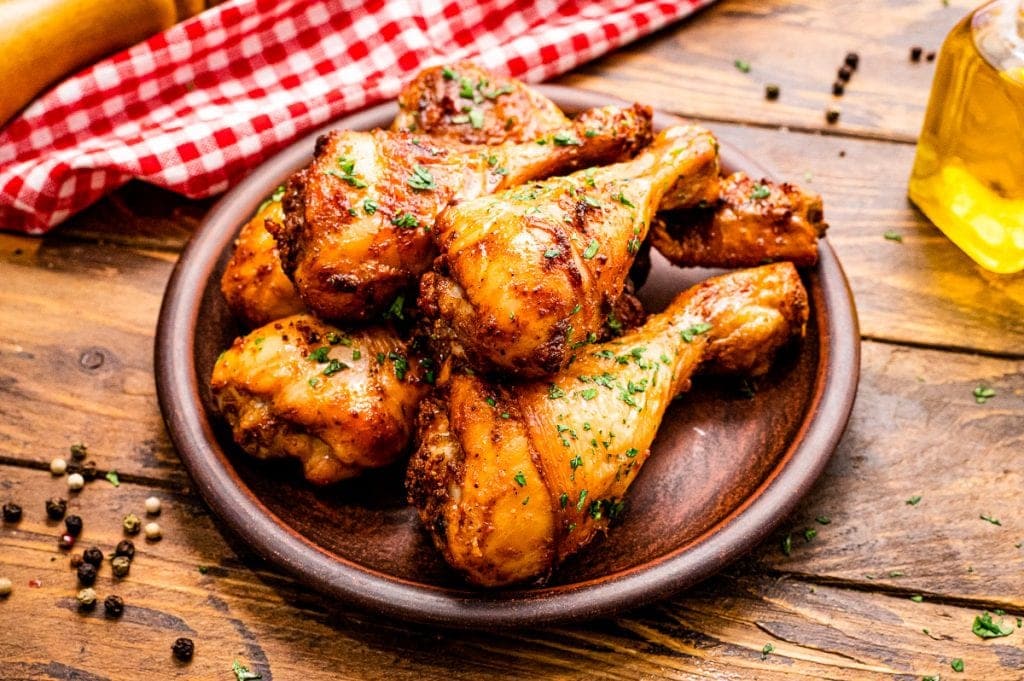
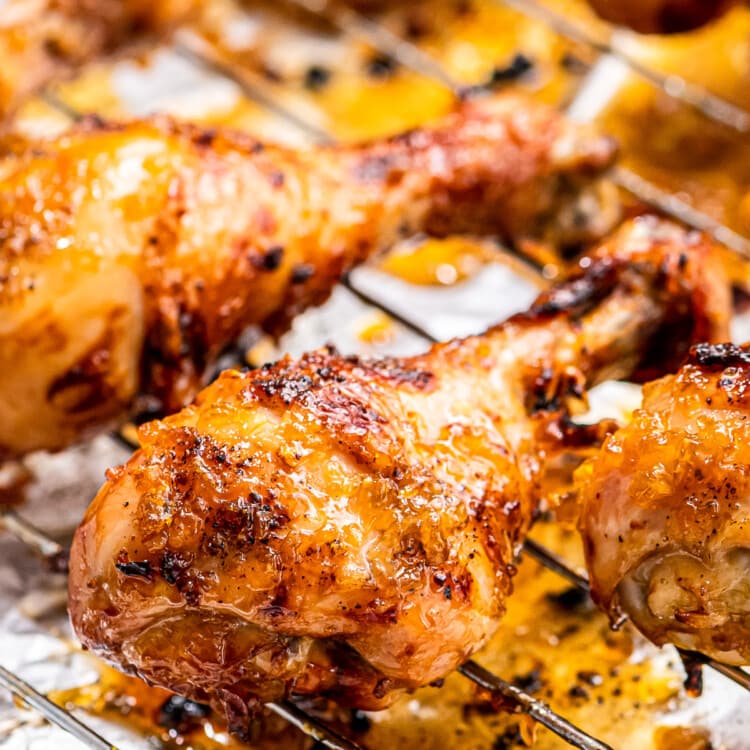
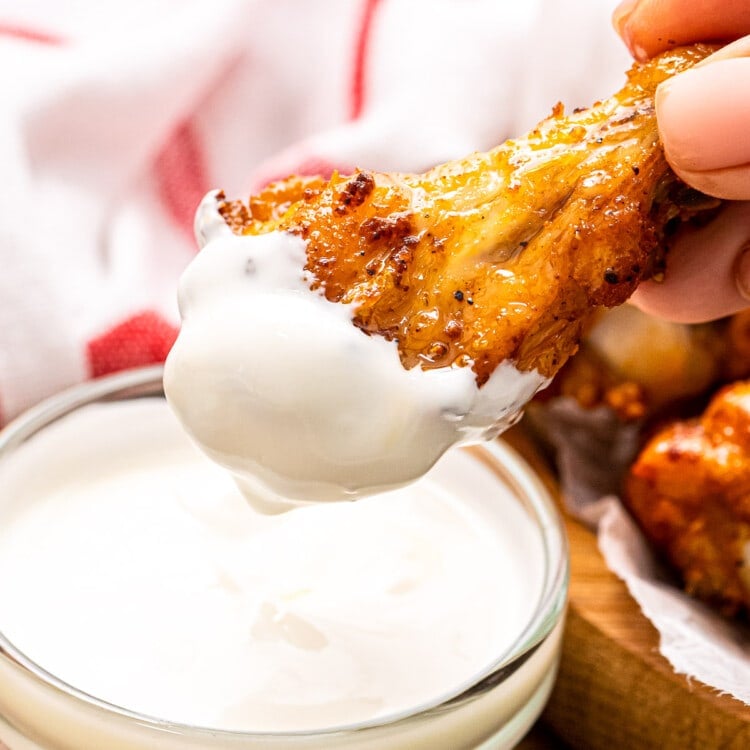
Tender, juicy Baked Chicken Legs that are tossed in a delicious seasoning made with pantry staples then baked. They have an amazing flavor, crispy skin and are a hit at every dinner table!
We love chicken around here and there’s no shortage of chicken recipes on this site including these tender, juicy oven-baked chicken legs. If you’ve been wanting to switch out regular chicken breasts for something new, these crispy legs are the recipe to try!
Baking chicken legs in the oven is so super easy (so are chicken thighs!). They’re first seasoned with spices and then all you do is pop them in the oven! It’s one of my favorite main dishes to make because they pretty much go with all the side dishes – macaroni and cheese, mashed potatoes, and roasted vegetables are just a few favorites!
If you want other baked chicken leg recipes you should also check out my barbecue chicken legs and air fryer chicken drumsticks. They’re so delicious, too!
But, today it’s all about the oven so if you’re ready to learn how to bake chicken legs with deliciously crispy skin keep on scrollin’! I’m sharing all of my best tips with you!
Contents
show
Ingredients
This recipe is so easy – you probably have all of the ingredients for the seasoning sitting in your pantry now! Here are the ingredients you’ll need:
- Chicken drumsticks
- Olive oil
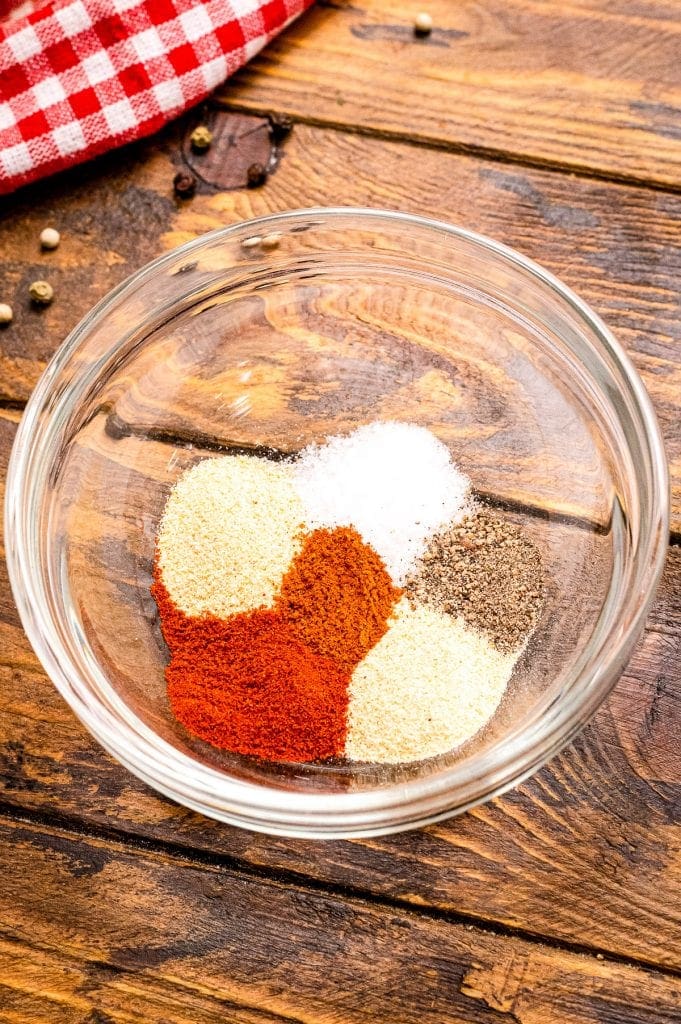
- Sea salt
- Black pepper
- Garlic powder
- Smoked paprika
- Chili powder
- Onion powder
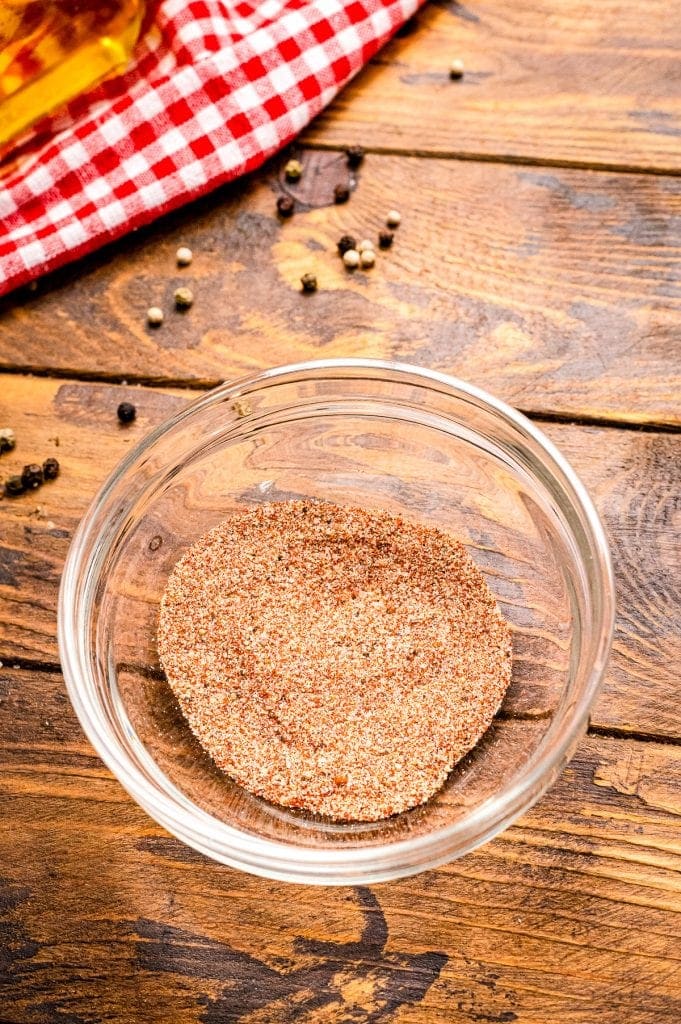
I really love to use smoked paprika in the seasoning because it gives the chicken a hint of smokiness like you get when you grill. But if you only have regular paprika that will work, too.

Recipe Tips
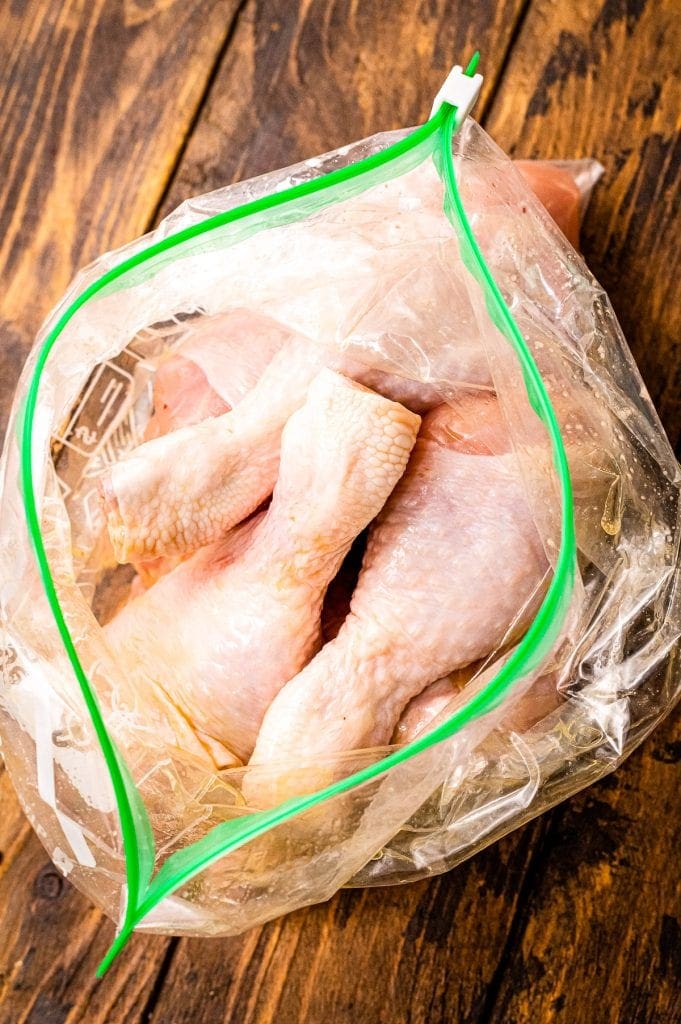
To get really crispy skin you need to thoroughly dry the chicken first. Use paper towels to pat them dry – removing the excess moisture from the skin will make it easier to get that perfectly crispy skin!
Then, just pop the drumsticks in a large resealable bag along with the olive oil. Seal the bag and toss to coat the chicken in the oil. Add all of the seasoning, seal the bag again and toss again to coat the legs evenly with the spices.
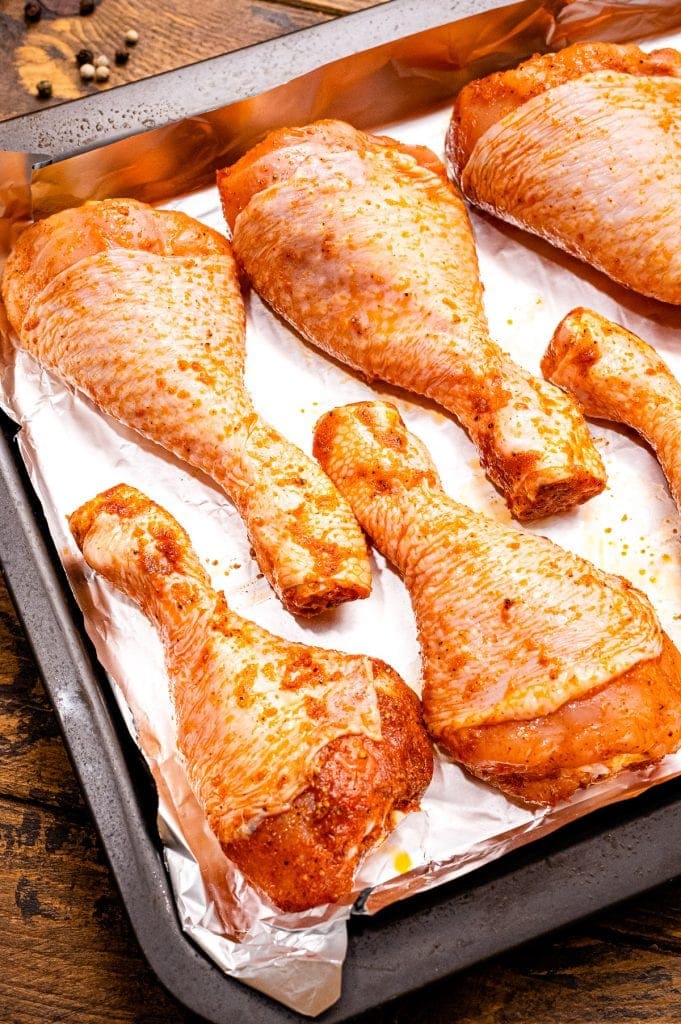
For easy clean-up I like to line my baking sheet with foil. Go ahead and lightly coat it with cooking spray to keep the drumsticks from sticking while they bake.
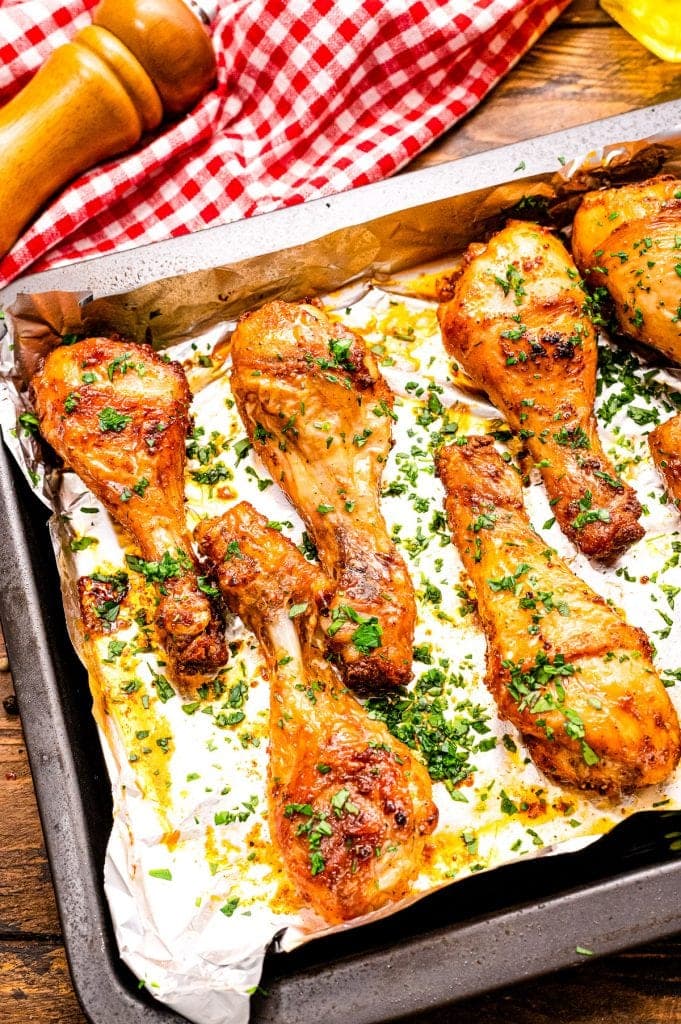
I like to bake them at 425 degrees. The high temperature really helps to crisp the skin. Bake them uncovered on the baking sheet – you don’t have to turn them, just leave them to cook and after about 40 to 45 minutes they’ll be ready!
How do you know when they’re done?
The best way to tell is to check the internal temperature with a meat thermometer. Baked chicken should be cooked to a temperature of at least 165 degrees, but for legs I let them cook longer. Sometimes there are red spots in the meat near the bone and if you cook them a little longer those disappear. The meat will still be really juicy and tender!
You can also just cut into one and check that it’s cooked all the way through. The meat should be thoroughly cooked to the bone and the juices should run clear. But, seriously, I recommend a thermometer – it just makes life so much easier.
How long does baked chicken last?
Cooked chicken lasts for up to four days in the refrigerator. You can enjoy it warmed up, but the skin won’t be as crispy. Sometimes I just pull the meat off the bone and store it for easy sandwiches and salads for lunch. It’s delicious cold or warmed up!
What should I serve with them?
- Any kind of potato dish is great to serve with them like German potato salad, hasselback potatoes, roasted sweet potatoes, or my amazing crack potatoes!
- Add a healthy veggie side dish like glazed carrots, cooked asparagus, or air fryer broccoli.
- They also go great with baked beans, garlic butter noodles, or Parmesan orzo!
No one can resist these crispy-skin chicken legs! Once you try them I’m sure you’ll make them again and again. They’re so easy to make and turn out perfect every time I make them. They’re so delicious!
Have you tried this recipe? I’d love if you would rate it!! A five-star rating will make my day! Don’t forget to tag me on Instagram @julieseatsandtreats or #julieseatsandtreats that way I’m sure to see your pictures!!
Did you make this? If you snap a photo, please be sure tag me on Instagram at @julieseatsandtreats or #julieseatsandtreats so I can see your yummy treat!
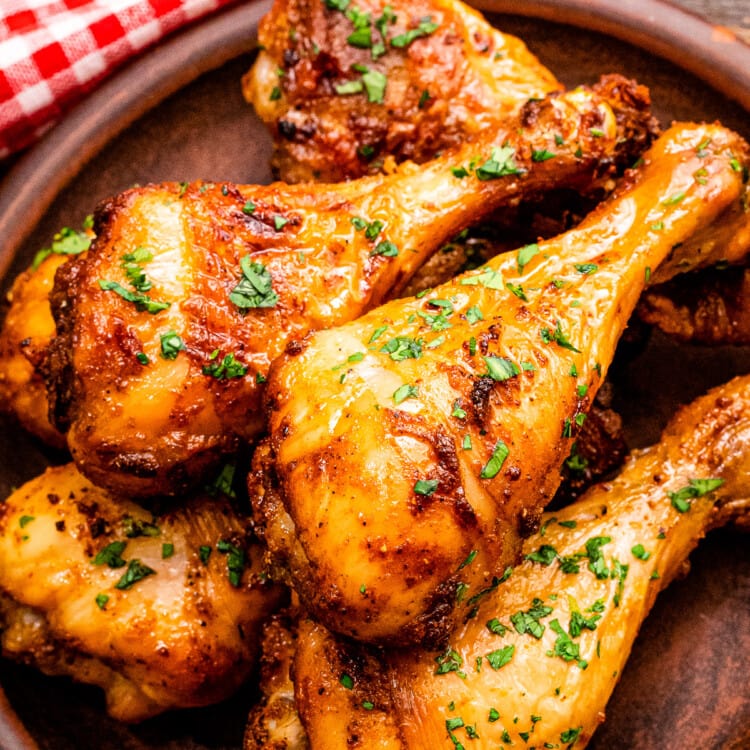
Baked Chicken Legs
Tender, juicy chicken legs that are tossed in seasonings and baked until they have a crispy skin!
Ingredients
- 8 chicken drumsticks about 2 lb
- 2 Tbsp olive oil
Seasonings
- 1 tsp sea salt
- ½ tsp ground black pepper
- 1 tsp garlic powder
- 1 ½ tsp smoked paprika
- ¼ tsp chili powder
- 1 tsp onion powder
Instructions
- Preheat the oven to 425 degree F.
- Line a baking sheet with aluminum foil and lightly spray with non-stick cooking oil. Set aside.
- Remove drumsticks from packaging. Pat them dry with paper towels. Place into a bowl or resealable plastic bag. Add oil oil and toss to coat.
- In a small bowl combine seasonings. Add to bowl/bag and toss until chicken is coated.
- Place drumsticks on the baking sheet. Place in a preheated oven and bake for 40-45 minutes or until the internal temperature is 165 degrees or higher.
Tips
- Technically the internal temperature needs to be 165 degrees F, but I find that there are no bloody spots around the bones if you cook it a little longer and the chicken is fall off the bone tender and juicy.
Video
Nutrition Information
Calories: 310kcal (16%), Carbohydrates: 2g (1%), Protein: 27g (54%), Fat: 21g (32%), Saturated Fat: 5g (31%), Cholesterol: 139mg (46%), Sodium: 743mg (32%), Potassium: 364mg (10%), Fiber: 1g (4%), Sugar: 1g (1%), Vitamin A: 489IU (10%), Calcium: 15mg (2%), Iron: 1mg (6%)


Vicki W. says
My son and I love chicken legs…hubby won’t eat dark meat…so once in awhile when there’s a good price on them I cook up a bunch…there were 12 of these, and I used this recipe. I baked them maybe five minutes longer, to make sure they were done, and the thermometer showed slightly over 165 degrees. There was no pink juices when I cut into the biggest one, they were perfect. No problems with using foil with cooking spray either. YUM! Enough for dinner tonight and some for tomorrow. (Husband will have something else.)
Courtney says
Perfect!!! I love that you still treat yourself even if it’s not the husband’s favorite meal. Thank you for rating this recipe and for commenting! 🙂
Cindy says
Turned out perfect. My only revision is starting the legs cooking for 1st 10 minutes on 425 degrees, then finish of at 350 degrees as to not dry them out
Julie Evink says
So glad you enjoyed this recipe Cindy! Thanks for rating and commenting on it!
Nene says
I’m trying now urs look A+ yummy
Julie Evink says
So glad you enjoyed them Nene! Thanks for commenting and rating the recipe!
Summer says
Followed directions exactly and it turned out so good. My husband doesn’t care for paprika that much but I love it on everything lol, and he said this chicken was delicious and went for seconds! For those who said they had issues with fat spraying out, I would pat the chicken dry after letting it sit on the counter for a little bit. This way the fat warms up and you can get it off before you bake it.
Julie Evink says
Great tips! So glad you and your husband enjoyed it. Thanks for commenting and rating the recipe!
Lori says
I thought it was good. Made this following directions exactly. It was so easy and my family loved it. Thank you
Julie Evink says
So glad everyone enjoyed this recipe! Thanks for commenting and rating the recipe!
Isabel says
I skipped the spray as I do not use it and seems to me not needed at all. Also had no onion powder but everyone I make this for loves this chicken. So easy.I do not like to cook so have a go to for family and friends. Excellent recipe. Maybe delete the spray. Use tin foil on pan.
Reenie says
Made it last night and my 2 kids enjoyed it, us too – 1 of the kids doesnt like chicken but he happily ate this and no need to pan fry means easier kitchen clean up!!!! Thank you for sharing, helps people like me who cant cook very well.
Courtney says
If kitchen clean-up after a meal is easy, I love a recipe even more!
Daryl Caldwell says
Very good! They came out perfect and delicious 😋
Candida says
Easy and delicious. Thank you!
Courtney says
So glad you enjoyed this! Thank you for rating and commenting on this recipe.
Courtney says
Yay! So great to hear! 🙂
Mel Hall says
I wanted to say that this is simple and thanks. But I really wanted to say to those who complained that it is nearly impossible to mess up chicken. My husband and I laughed so hard at the fat spraying comments. Who doesn’t use aluminum foil in the oven? So weird. Our chicken didn’t destroy the kitchen. Lovely recipe 😋
Courtney says
Thank you, Mel! So great to hear you didn’t have any fat spraying issues. 😉
Sarah Emory says
So good my picky eaters love it
Courtney says
That makes this a great recipe to add to the dinner rotations! Thank you for letting me know you loved it.
Pamela says
This chicken recipe is so easy and it looks great as well as tastes great. Thank you for this tasty recipe!
April says
Absolutely delicious and so easy. New staple in our house
Kofi Wiafe says
Wow, this is some good mouth watering memories no joke, with or without the onion’s and that’s the beauty of this recipe. This is my go to recipes, and my taste buds say Thank you for sharing 😁👏👏👏🥰🥰.
Bonnie says
I was hesitant with this method because I’ve never used foil and the temperature was higher than other recipes. The fat sprayed all over my oven and filled my house with smoke. I had to take it out and switch to parchment and reduce the temp to keep cooking. I don’t know how this worked for other people.
Courtney says
Sorry to hear that. I have not heard of this being an issue for anyone else!
Lil says
I had the same exact problem! Sprayed everywhere and smoke alarms went off. It turned out good but can I cook at lower temperature? I’m afraid to try again. I spread thin amount of oil instead of cooking spray on foil. Was that the problem?
Lil says
I had the same exact problem! Sprayed everywhere and smoke alarms went off. It turned out good but can I cook at lower temperature? I’m afraid to try again. I spread thin amount of oil instead of cooking spray on foil. Was that the problem?
Joe Biden says
It super duper good