Berry Popsicles
Leave a Comment
Posted: 06/06/23
This post may contain affiliate links. Please read our disclosure policy.
Cool, refreshing homemade Berry Popsicles are a no-guilt treat perfect for a hot summer day. Made with Greek Yogurt and frozen berries they are the perfect, healthy frozen dessert.
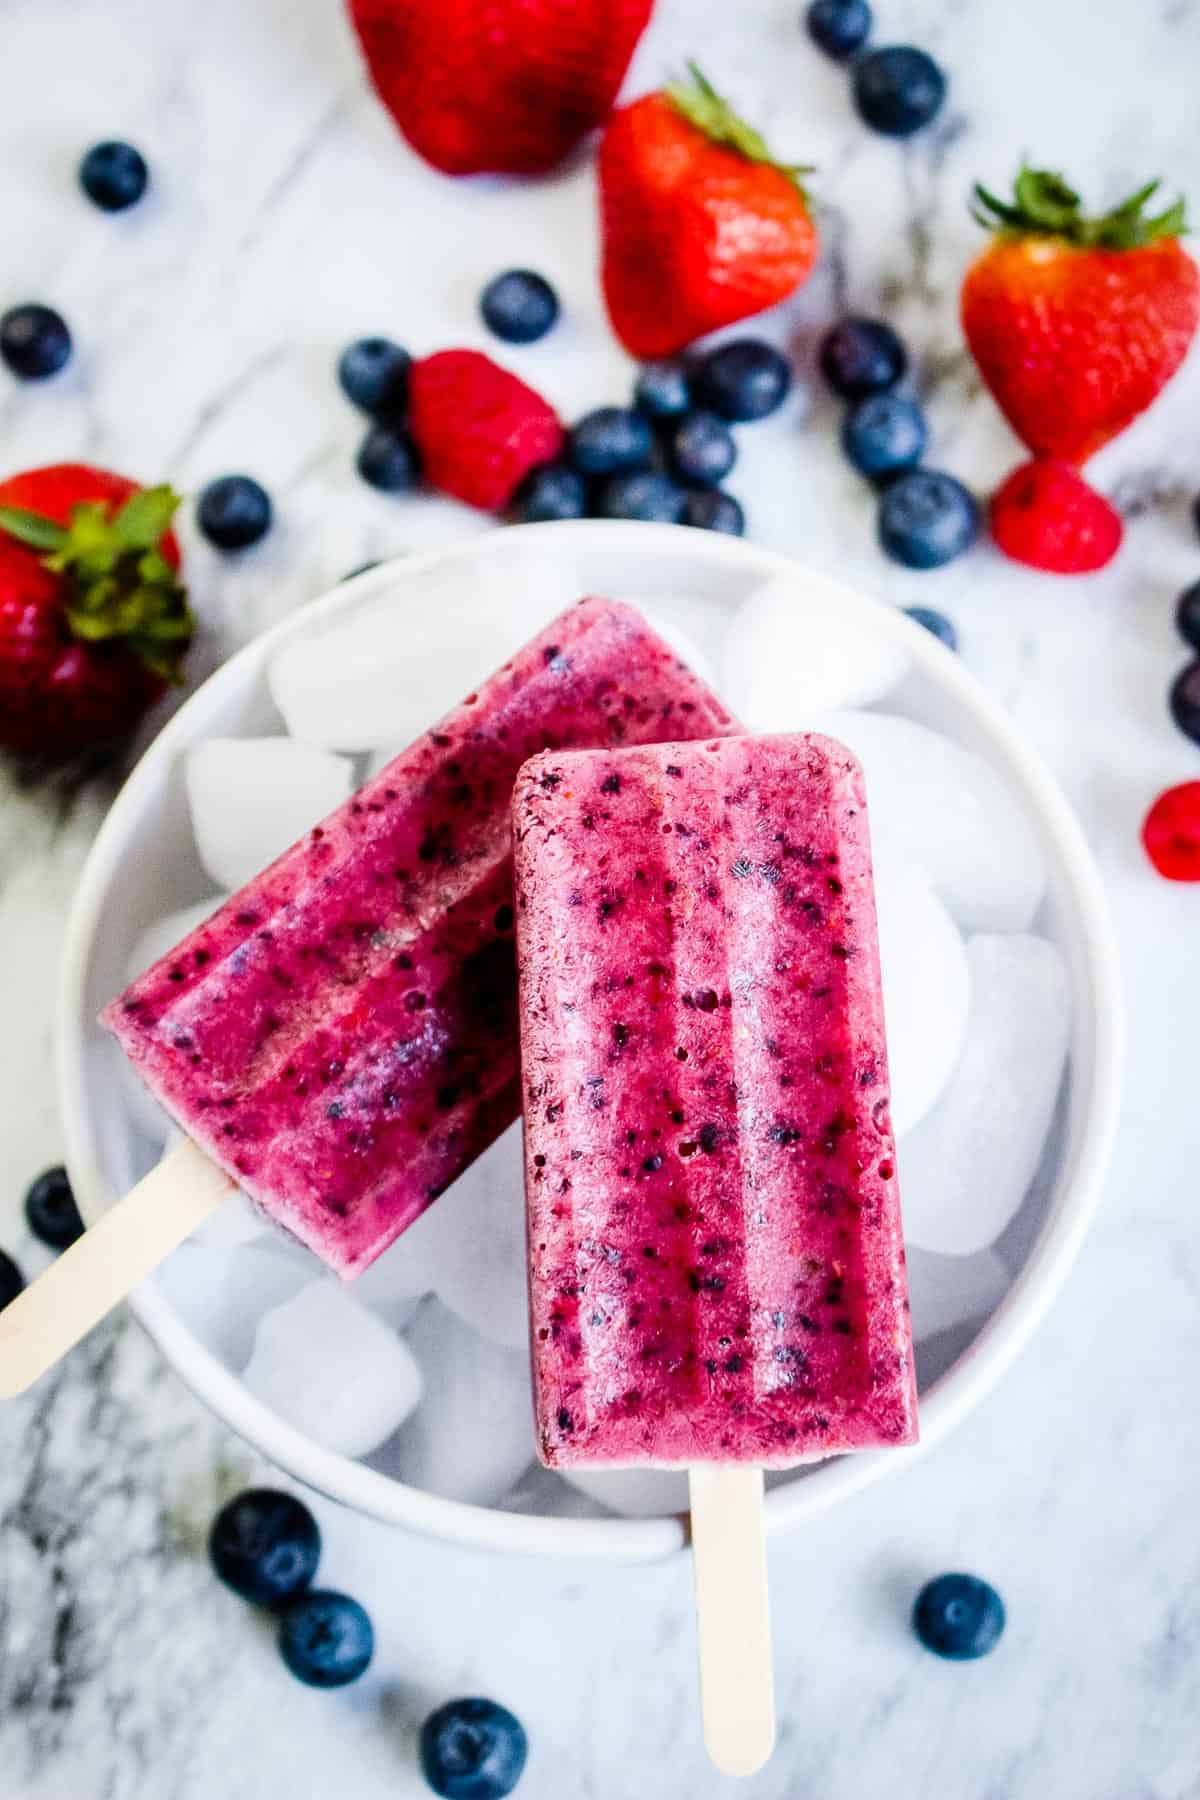
Why buy popsicles at the grocery store when you can make the most creamy and tasty berry popsicles in your own kitchen? These greek yogurt popsicles are the perfect cold treat to get you through a summer heat wave. There’s nothing like enjoying a tasty popsicle by the poolside.
Mixed Berry popsicles are the perfect combination a tart berries and a creamy yogurt base that adds just a touch of sweetness. You can add or subtract anything you want in this recipe and make them exactly to your liking.
Plus, you can throw them together right before bedtime, pop them in the freezer, and you’ll have fresh popsicles ready to go for the next day full of summer fun in the sun.
Those popsicles that you buy at the store are typically full of extra sugar and unnecessary ingredients, and let’s face it, they don’t taste as good as homemade. Making your own popsicles right at home means that you can ensure no extra sugar is added in and you’ll be able to give your kids a healthy treat!
And if you end up with leftover frozen berries, no worries. Just save them for another batch of tasty popsicles, or make the most perfect berry smoothie for breakfast one day!
Make sure you’ve got a 10-slot popsicle mold, and then dive into this perfect recipe!
Why You’ll Love Berry Popsicles
- It only takes 10 minutes to prep these super easy frozen fruit popsicles! You only have to be patient and let the freezer freeze them to the perfect consistency.
- Making your own popsicles is a more affordable snack option than buying boxes of popsicles all summer long.
- These easy homemade popsicles are a healthy alternative to ice cream. It’s only fruit and Greek yogurt, no refined sugar and added un-healthy ingredients. A great low-carb option as well.
Ingredients for Berry Popsicles
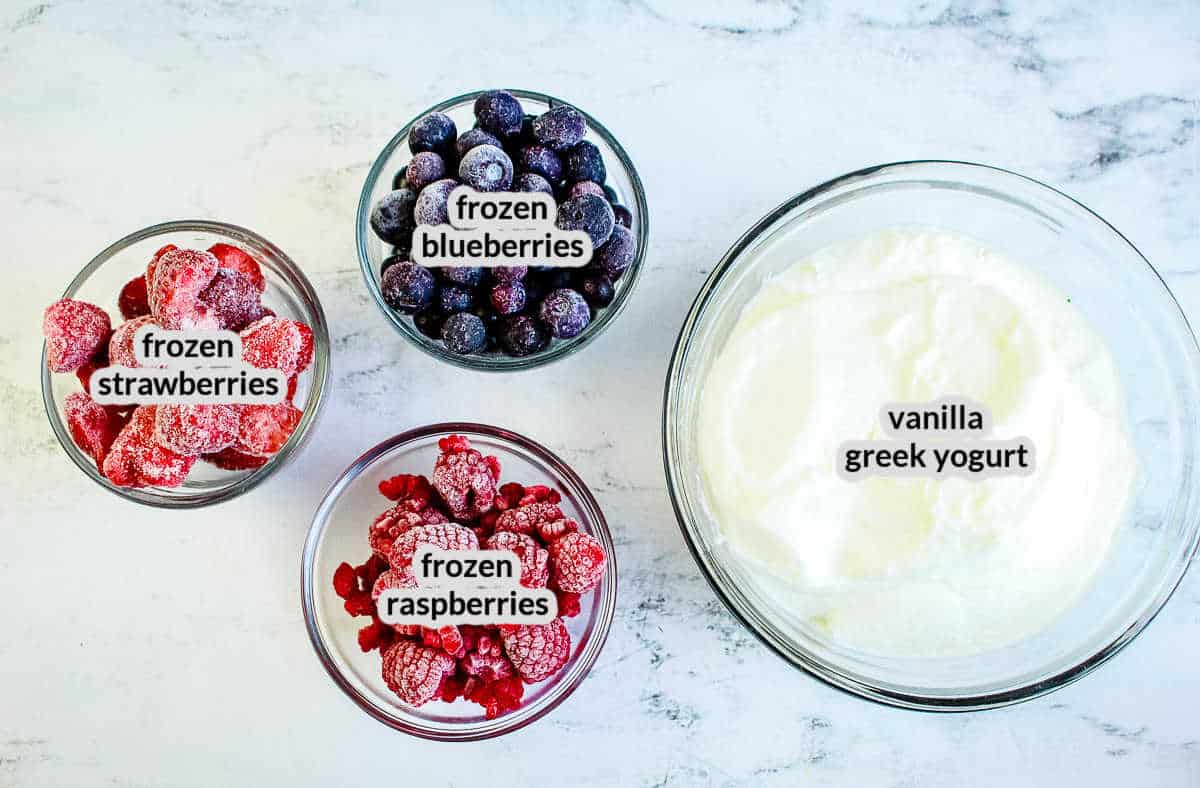
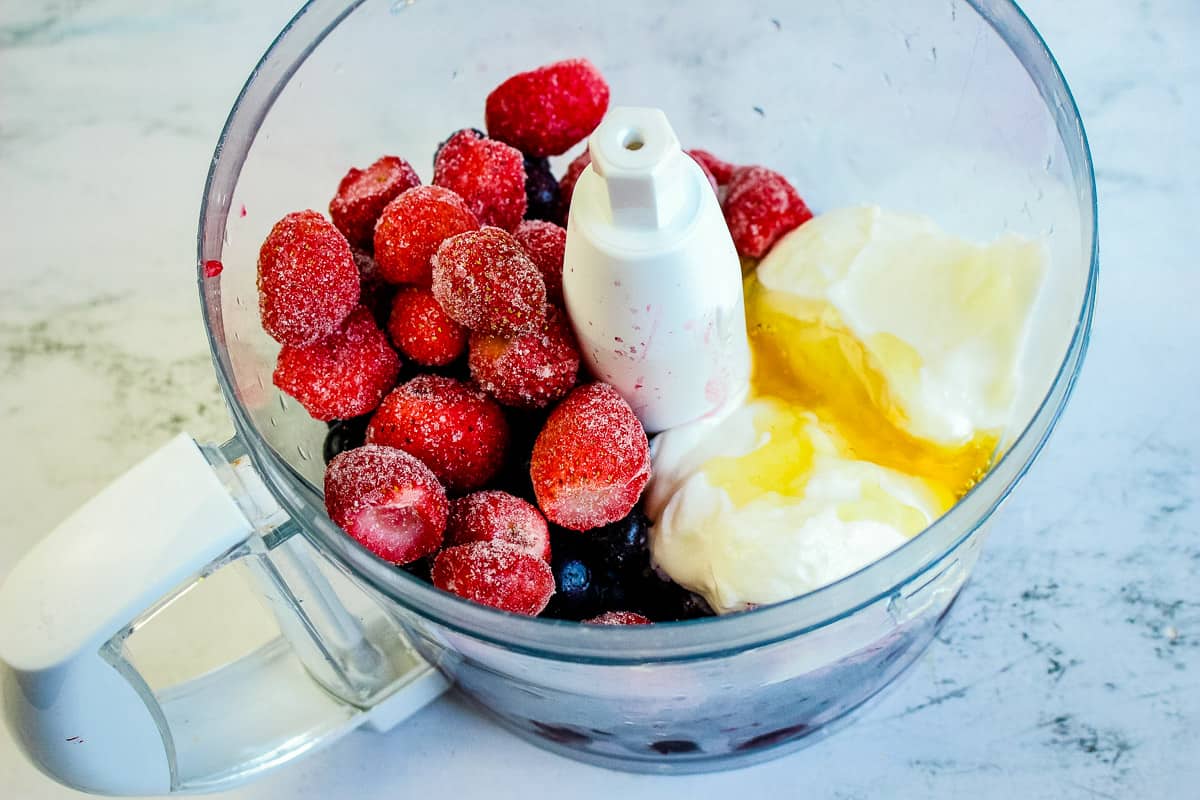
- Frozen strawberries, blueberries, and raspberries – You can use fresh fruit if you prefer, but frozen works just fine! If you don’t want to buy each of these separately, you can buy a bag of frozen mixed berries. Just be sure it’s enough fruit for 2 1/2 cups of berries. You can also use a mix of frozen and fresh berries. Find whatever is cheapest at your local grocery store (or summer Farmer’s Market!) and go with it!
- Vanilla Greek yogurt – Vanilla Greek yogurt adds the perfect creamy and sweet touch to these delicious popsicles. Feel free to use unflavored Greek yogurt, or different flavors like strawberry, mixed berry, or another fruit flavor.
Helpful Tools
How to Make Mixed Berry Popsicles
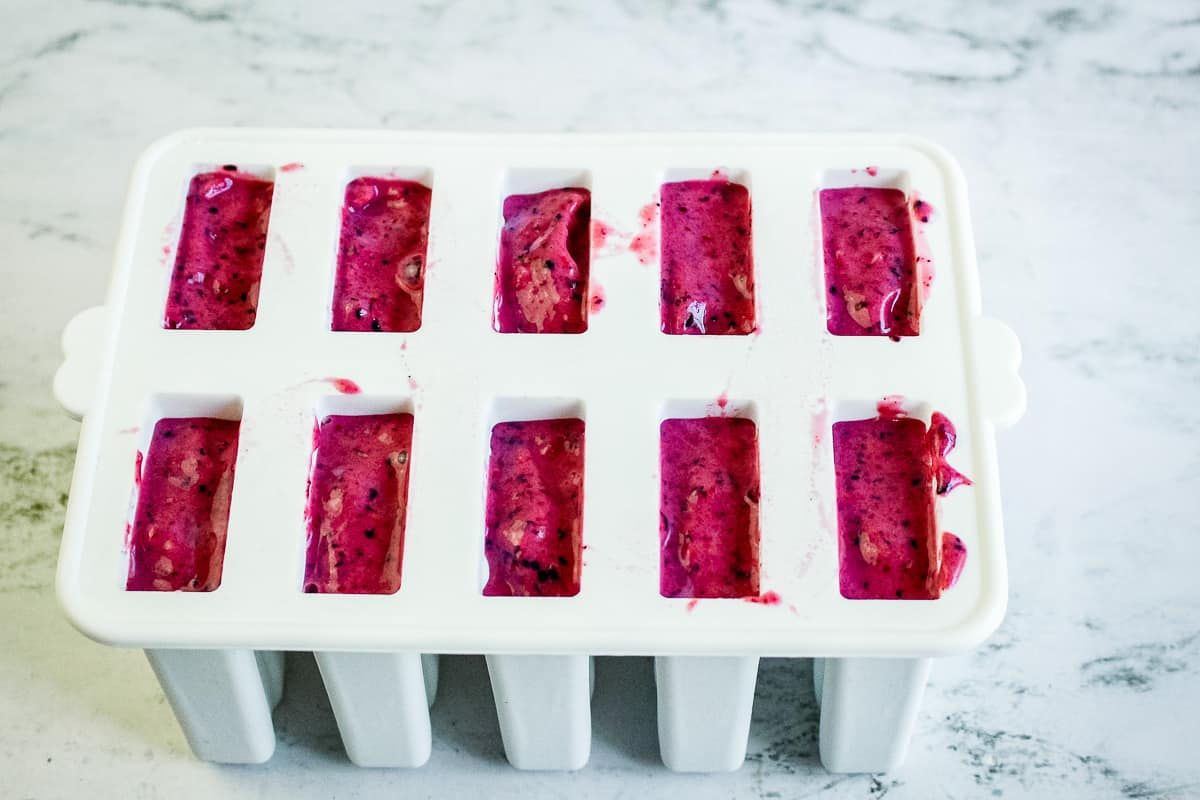
- Puree all of the ingredients together in a blender or food processor until smooth. Then, smooth the berry popsicle mixture into a popsicle mold.
- Cover the mold and push the popsicle sticks into each slot.
- Freeze the popsicles overnight, or until completely frozen.
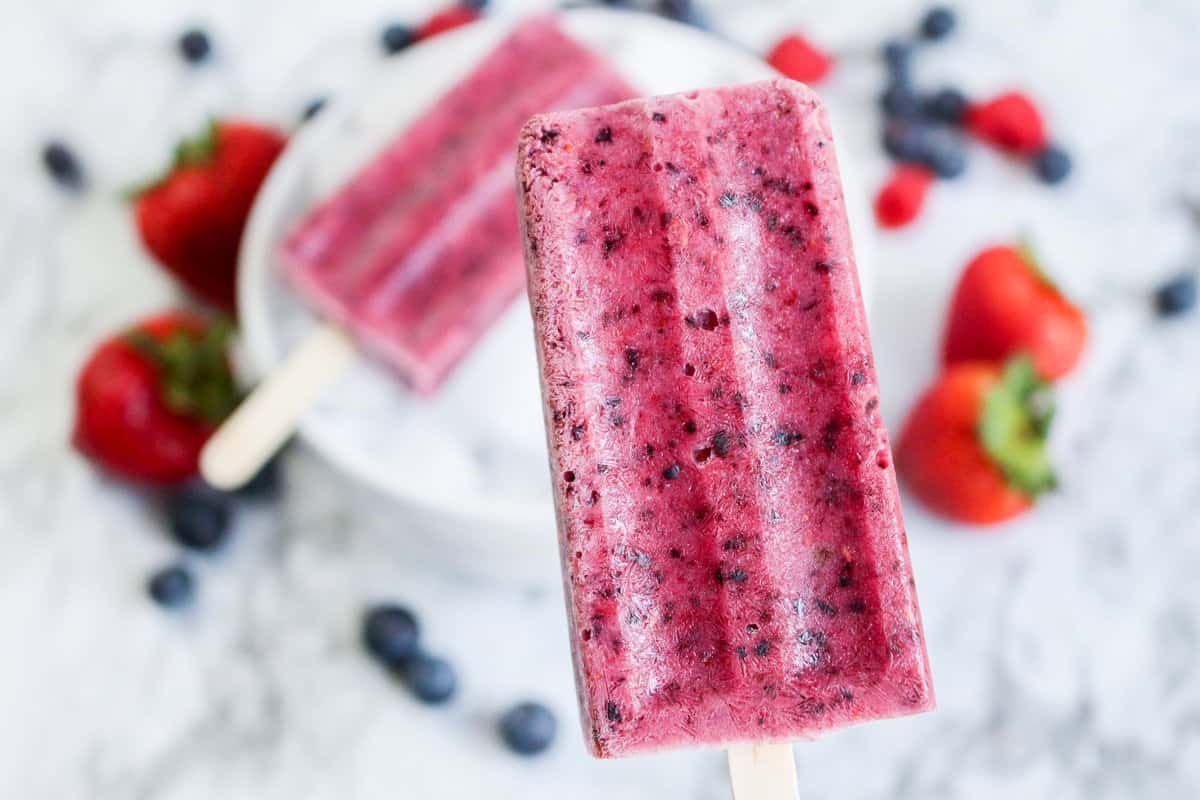
- To remove the popsicles, dip the molds in warm water for 3 to 5 seconds to loosen the popsicles enough to slide out easily.
- Serve immediately and enjoy!
How long do homemade popsicles last in the freezer?
Homemade popsicles will last for 2-4 weeks in the freezer, if stored correctly. Make sure that you cover them well to prevent freezer burn from happening.
Store them towards the back of the freezer so they don’t melt and refreeze. The front of the freezer has more frequent temperature fluctuations.
How can I make berry popsicles sweeter?
Sweeten up these popsicles by adding a little bit of honey or coconut sugar into the mix. These two sweeteners pair so well with fruit. You can also purchase Greek yogurt that is sweetened and that would add some sweetness to your popsicles!
Can I use different frozen fruit and make popsicles using this same method?
Even though this recipe is for berry popsicles, the method can be used for any frozen fruit popsicle you want to make!
A tropical mix of mango and pineapple would be so yummy. Or use other fruits like peaches, bananas, and kiwis to make tons of other tasty flavor combinations.
Pro Tips!
- Melt some chocolate and place a little in the bottom of your popsicle molds to make a delicious chocolate coating on the top of each popsicle.
- Use reusable popsicles sticks to cut down on the mess of cleaning up leftover popsicle sticks everywhere.
- Slice up some fresh fruit and place it in the bottom of the molds before pouring the popsicle mixture in. This will give these treats a few chunks of fruit throughout the popsicle!
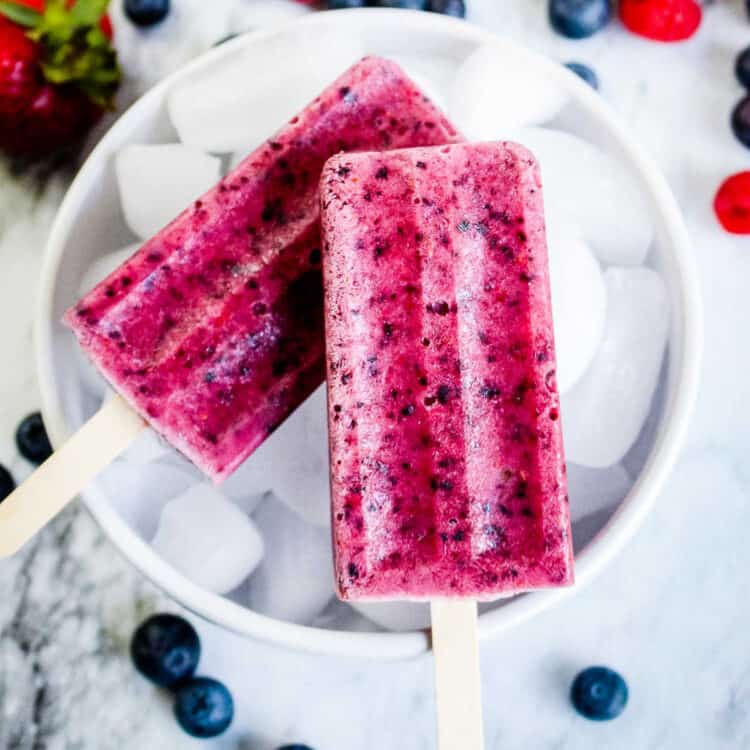
Have a refreshing summer day, and kick back and enjoy a creamy, fruity, and naturally sweet cold treat!
More Berry Recipes You’ll Love
- Believe me when I tell you the next dessert you need to make is Raspberry Pretzel Pie. It’s the best combination of salty and sweet and so eashy to put together for your next family gathering.
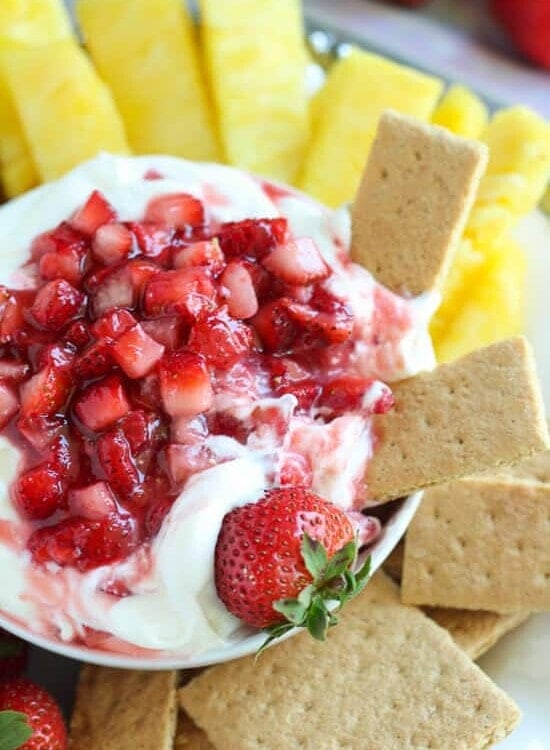
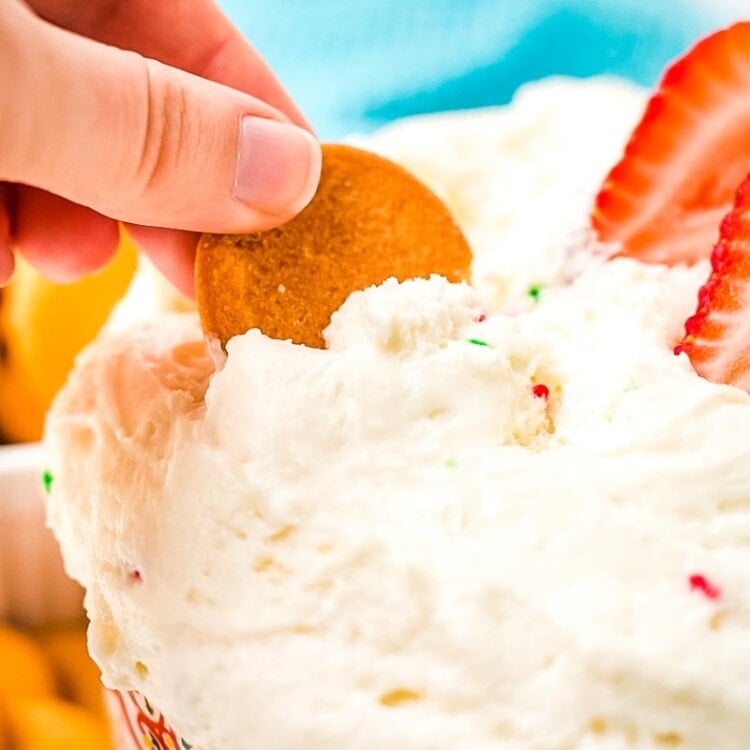
- Every party needs a great dip, or two. So why not make it a fruity dessert dip? This Strawberry Fruit Dip is to die for and is such a crowd-pleaser!
- Fruit Salad is another summer staple. Serve it at barbecues, potlucks, or even just as an afternoon pick-me-up after being out in the sun. Enjoy all of the fruit while it’s in season!
- Need a fun beverage for your next party? This Blueberry Lemonade is absolutely perfect and so delicious!
- Make Strawberry Sauce and use it as the perfect topping for any number of things. Ice cream, french toast, pancakes, and so much more! It’s universally yummy!
Did you make this? If you snap a photo, please be sure tag me on Instagram at @julieseatsandtreats or #julieseatsandtreats so I can see your yummy treat!
Berry Popsicles
Easy Mixed Berry Popsicles are a healthy and delicious sweet treat perfect for a hot summer day.
Popsicles
Ingredients
- 1 cup frozen blueberries
- 1 cup frozen strawberries
- ½ cup frozen raspberries
- 1 cup vanilla Greek yogurt
- ¼ cup water
Instructions
- In a blender or food processor, puree the ingredients and spoon into the popsicle mold.
- Cover and push popsicle sticks into mold.
- Freeze overnight or until completely frozen.
- To remove, dip the popsicle mold into warm water for 3 to 5 seconds before pushing the popsicles up from the bottom of the silicone mold.

Tips
Homemade popsicles will last for 2-4 weeks in the freezer, if stored correctly. Make sure that you cover them well to prevent freezer burn from happening.
Store them towards the back of the freezer so they don’t melt and refreeze. The front of the freezer has more frequent temperature fluctuations.
Nutrition Information
Serving: 1popsicle, Calories: 34kcal (2%), Carbohydrates: 7g (2%), Protein: 2g (4%), Fat: 0.1g, Saturated Fat: 0.01g, Polyunsaturated Fat: 0.1g, Monounsaturated Fat: 0.02g, Cholesterol: 1mg, Sodium: 7mg, Potassium: 63mg (2%), Fiber: 1g (4%), Sugar: 5g (6%), Vitamin A: 12IU, Vitamin C: 11mg (13%), Calcium: 5mg (1%), Iron: 0.1mg (1%)
Leave a Comment