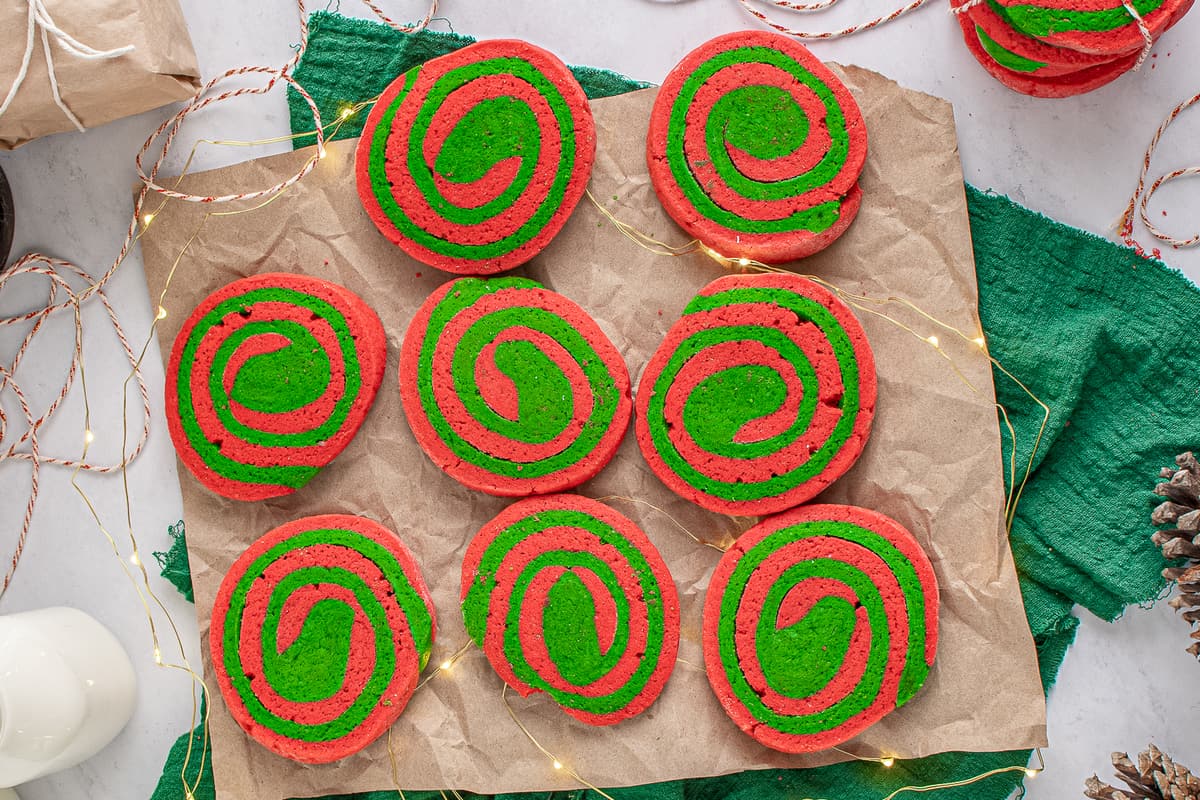
Christmas Pinwheel Cookies
3 Comments
Posted: 12/01/21
This post may contain affiliate links. Please read our disclosure policy.
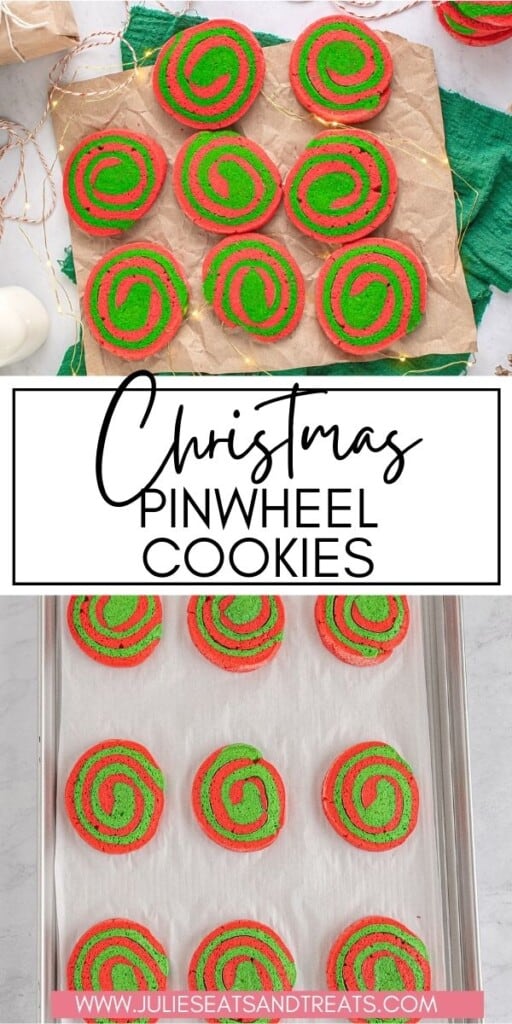

Festive red and green cookies that make the perfect Christmas Cookie for cookie trays! These Christmas Pinwheel Cookies are soft and resemble a soft sugar cookie from the grocery store.
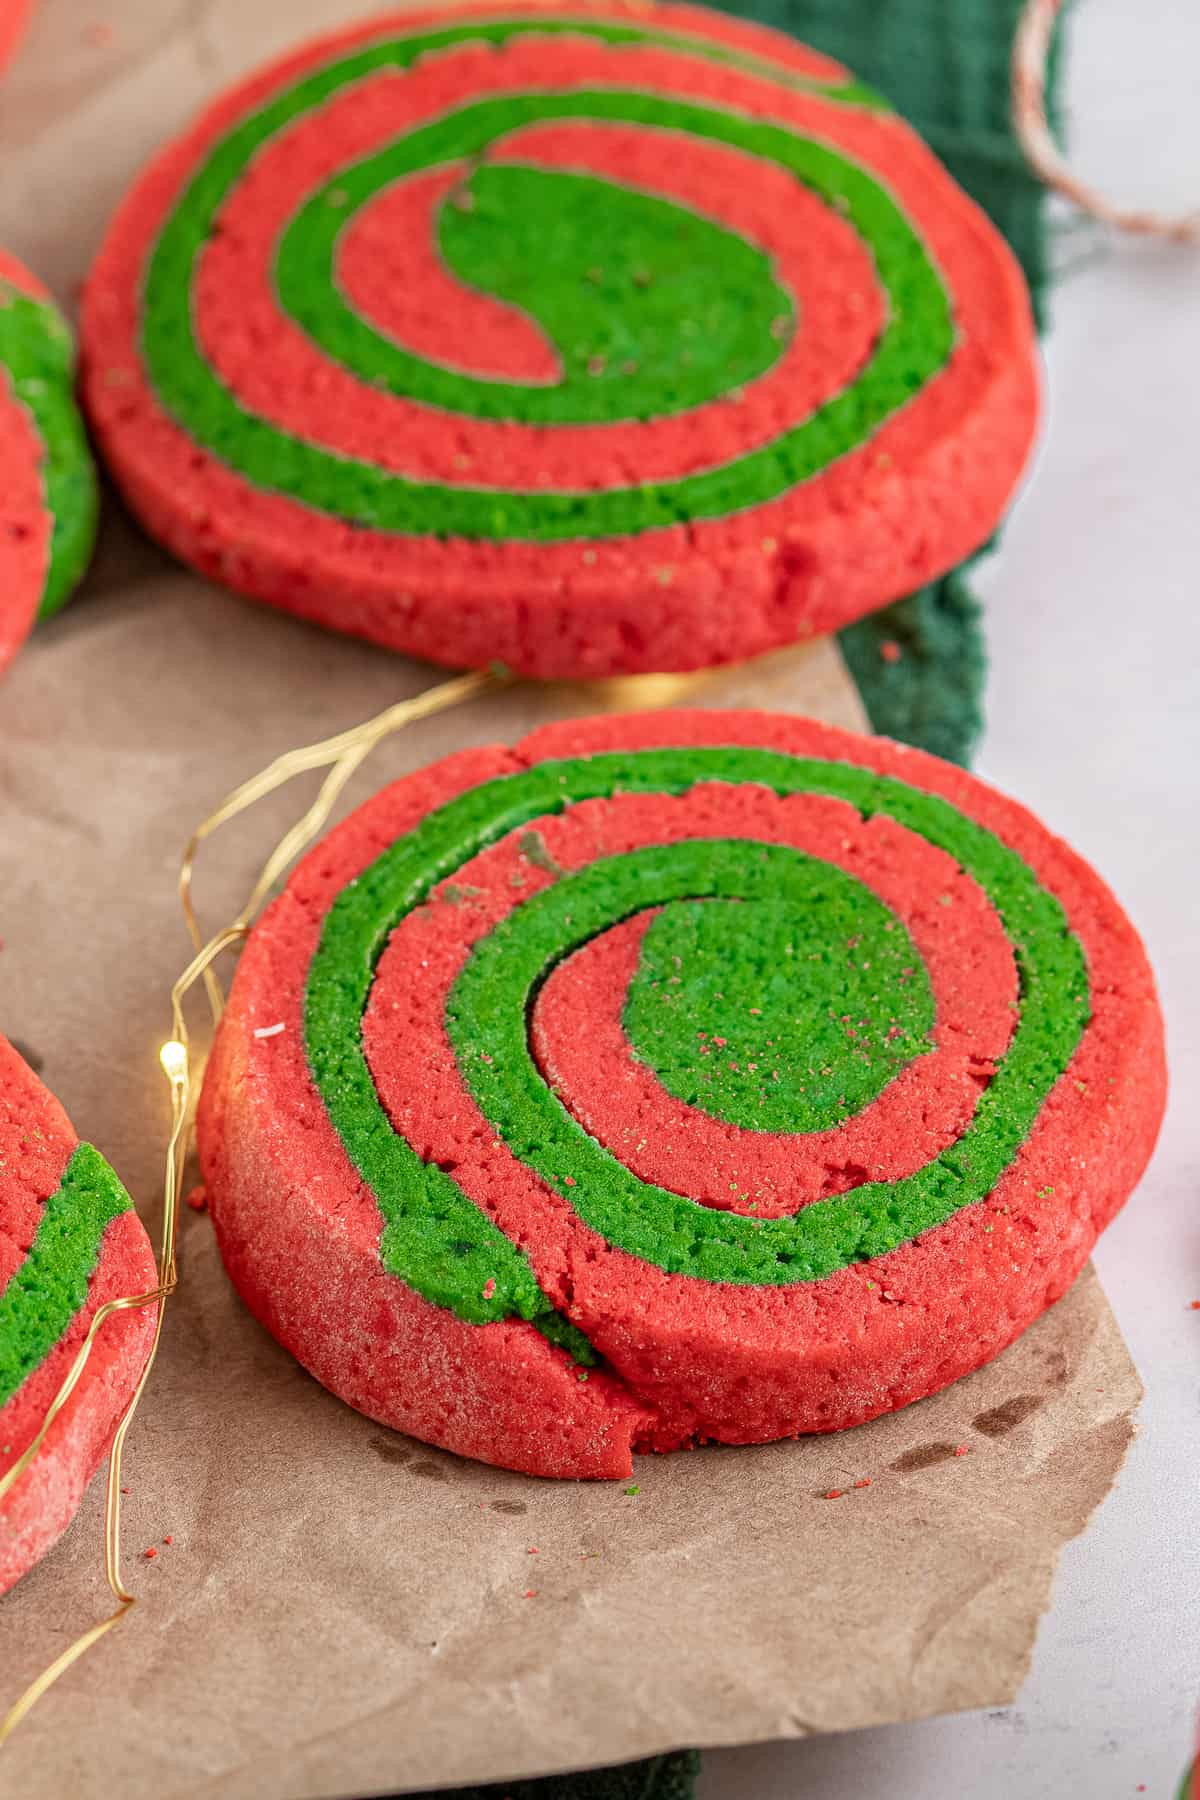
Soft, sweet pinwheel cookies are a fun recipe to make for the holiday season! Two different colored doughs are combined to make festive red and green Christmas pinwheel cookies – they look impressive, but I can promise they’re not hard to make!
This is just one of the holiday cookie recipes on my list this year, you can find even more ideas in my post with 100+ Christmas cookie recipes! These cookies and my hot chocolate cookie cups are two of the most festive and fun recipes to make around the holidays!
Contents
show
Why This Recipe Works
- These are homemade slice and bake cookies with a swirl made with two different colors! I’m showing you each step so you can make perfect pinwheel cookies every time.
- The cookies are soft sugar cookies made with brown sugar and granulated sugar for the best flavor and texture.
- They’re also a great make-ahead recipe! You can prepare the dough and freeze it until you’re ready to bake the cookies.
- Once you know how to make them, it’s as easy as changing the food coloring to create all kinds of pretty pinwheel cookies for any time of year!
If you have a cookie exchange this year or just need a fun holiday cookie to share with family and friends, you need to give this Christmas pinwheels cookies recipe a try!
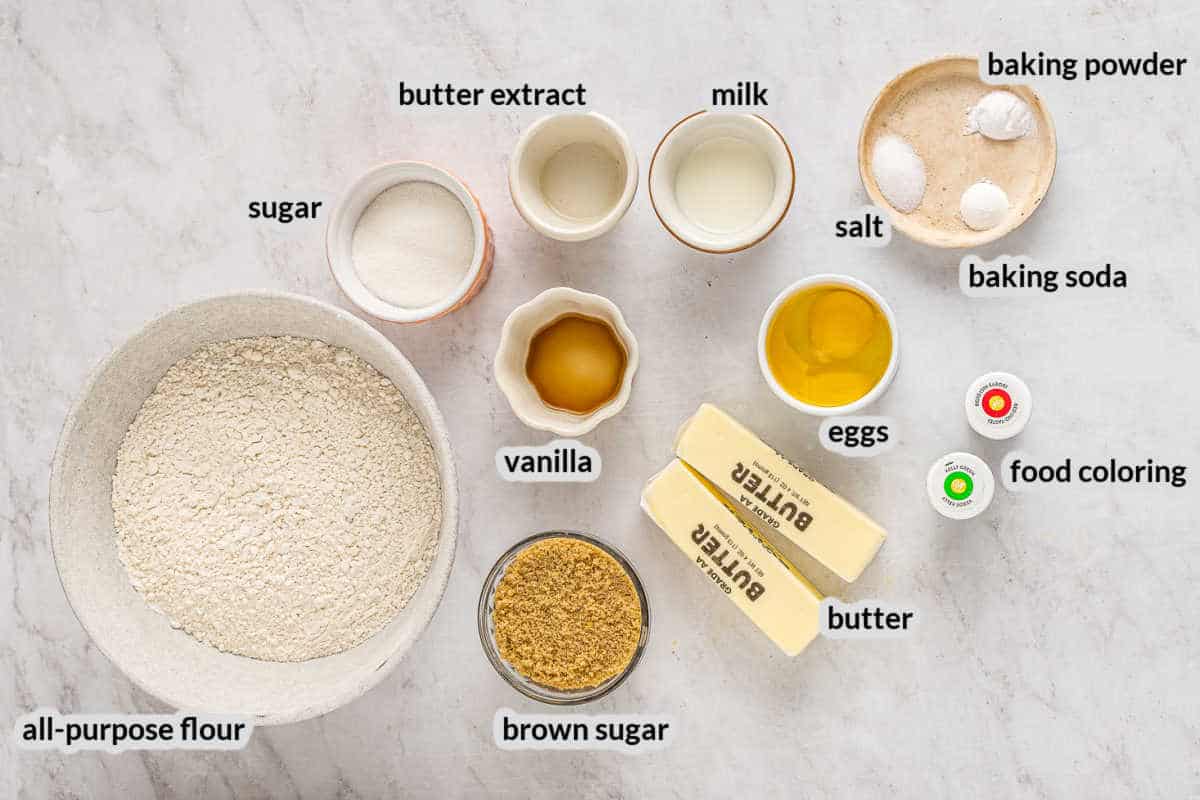
Ingredients
- All-purpose flour – The best way to measure flour is with the spoon and level method.
- Baking powder
- Salt
- Baking soda
- Unsalted butter – If you use salted butter, omit the added salt in the recipe.
- Brown sugar – Or use the same amount of granulated sugar.
- Granulated sugar – Or swap it and use the same amount of brown sugar.
- One whole egg plus one egg yolk – Room temperature eggs mix into the batter the easiest.
- Milk – 2%, whole milk, or half and half are great!
- Vanilla extract
- Butter extract – Look for this in the baking aisle. It adds an extra boost of buttery flavor! If you want to skip it, use vanilla or almond extract in its place for a different flavor.
- Red food coloring and green food coloring – I recommend gel food coloring for the best vibrant colors!
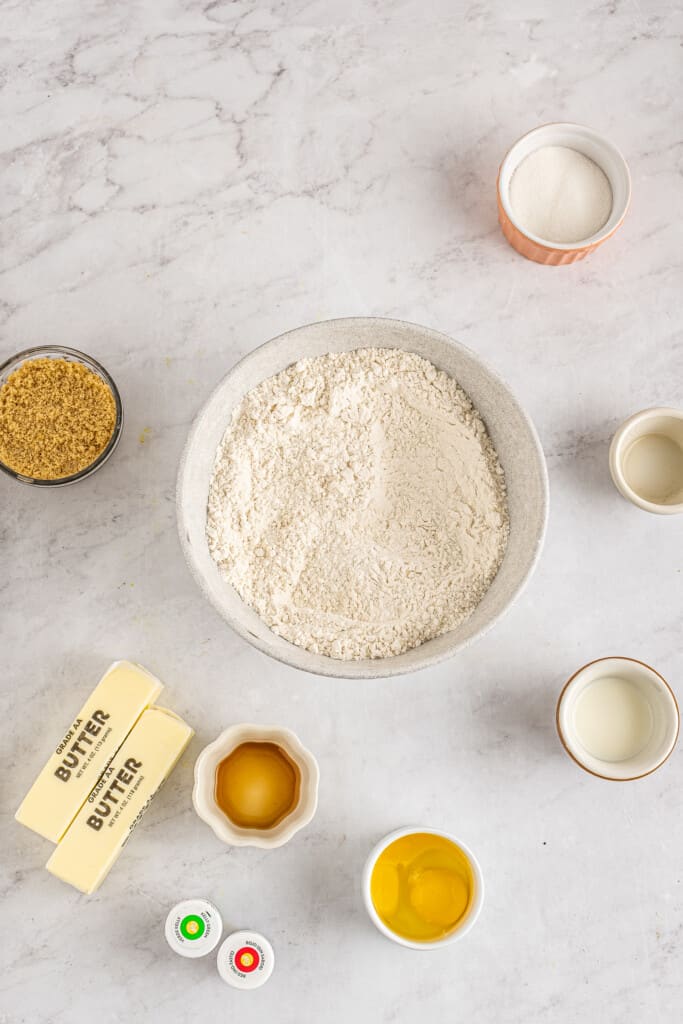
Ingredients Tip: For the best sugar cookie dough, use room temperature ingredients. So, leave the butter, milk, and eggs out for at least 30 minutes before making the cookies.
How to Make Slice and Bake Cookies
Whisk the flour, baking powder, salt, and baking soda in a large mixing bowl. Set the dry ingredients aside.
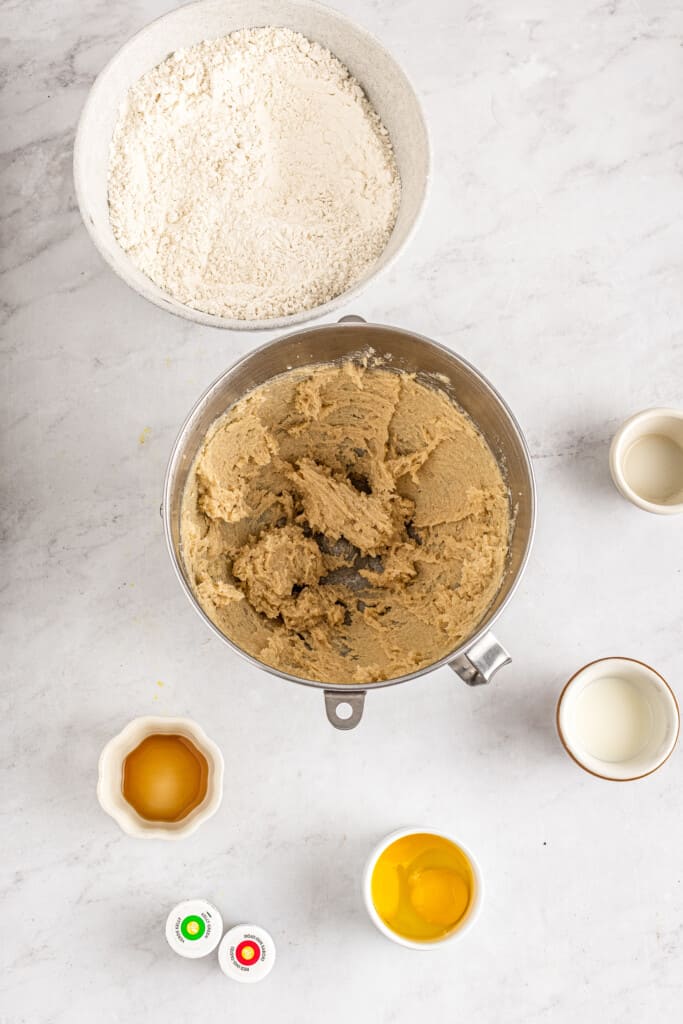
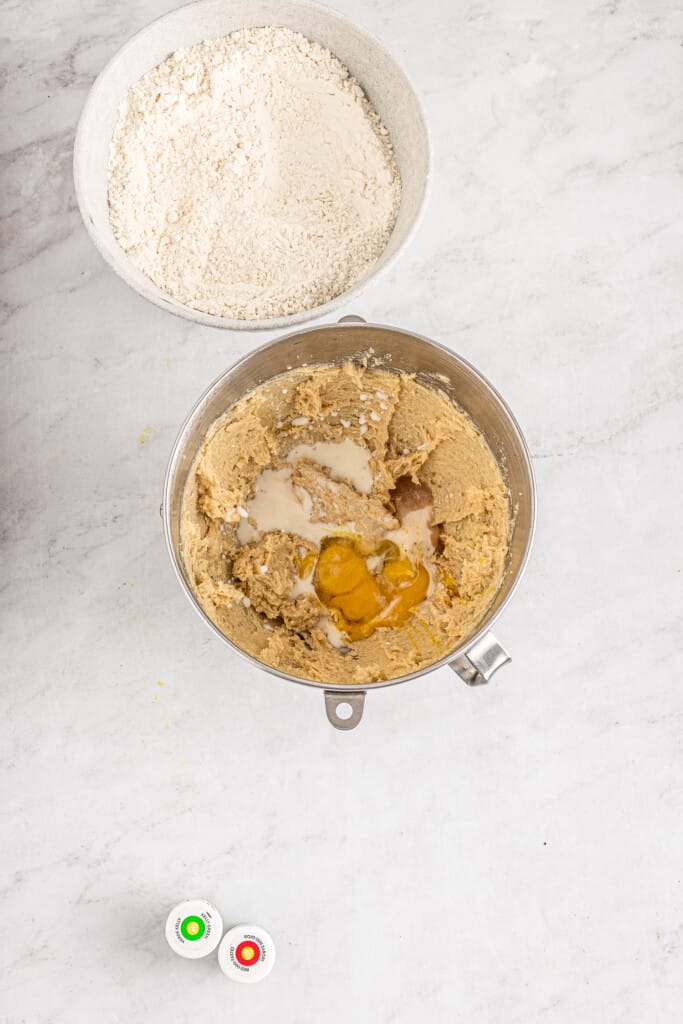
Using a stand mixer with a paddle attachment or a large bowl with a hand mixer, beat the butter, brown sugar, and granulated sugar on high speed for one minute. Add the whole egg, egg yolk, vanilla extract, and butter extract. Beat them into the butter mixture for 30 seconds.
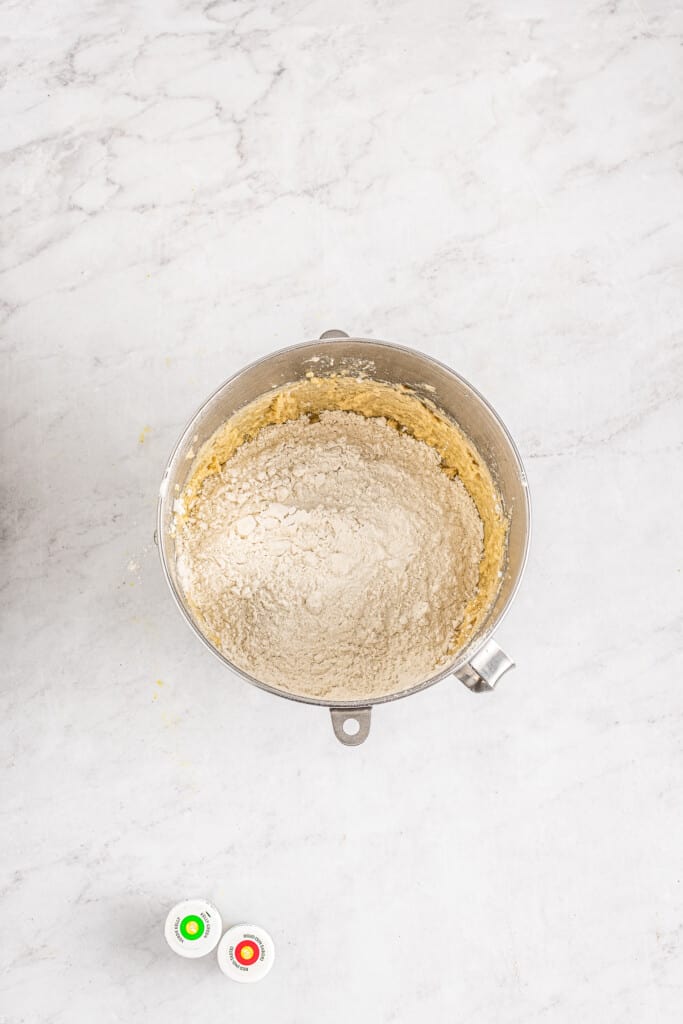
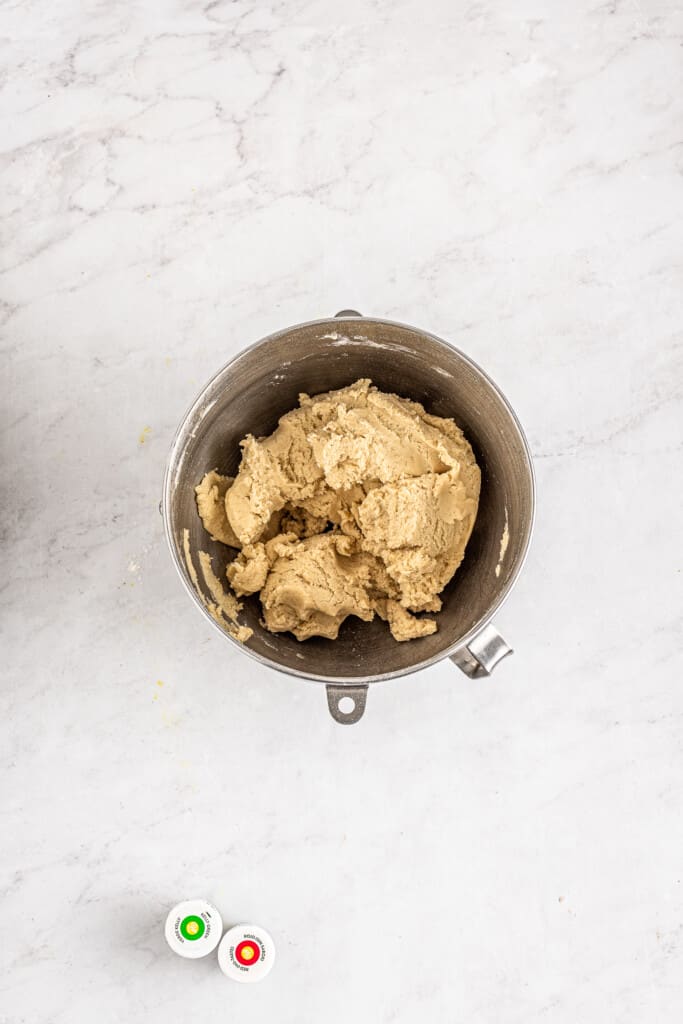
Add the flour mixture and mix until the cookie dough is just combined. Be careful not to overmix – the flour should be absorbed, once it is and the dough forms, stop mixing.
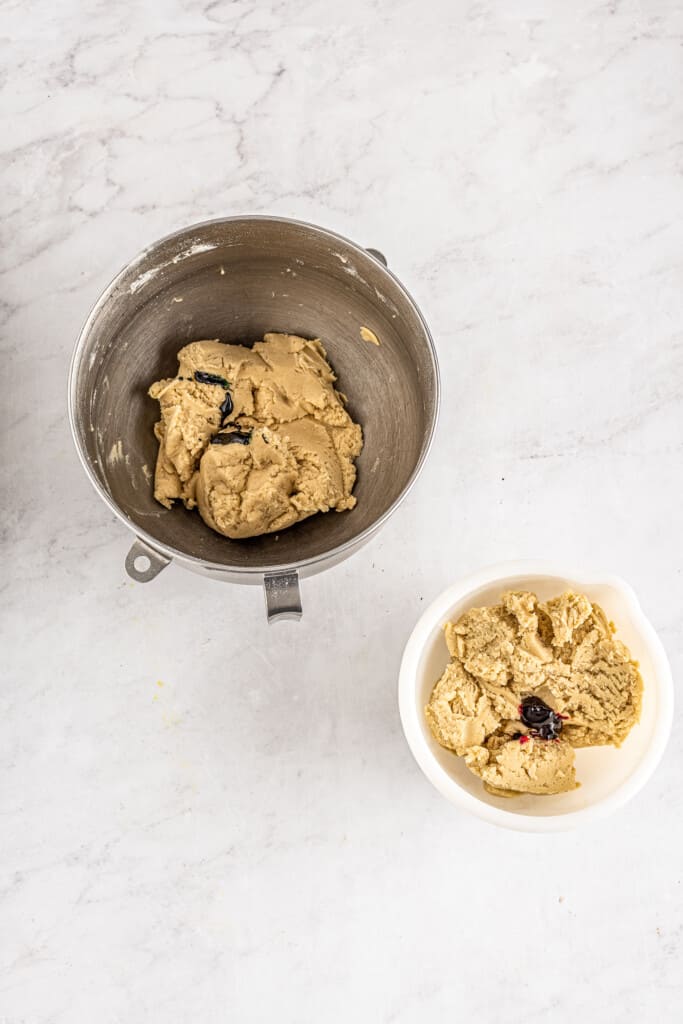
Divide the dough in half and place each half in a separate bowl. Tint one dough red and tint the other one green. Mix until the colors are uniform and the doughs are evenly colored.
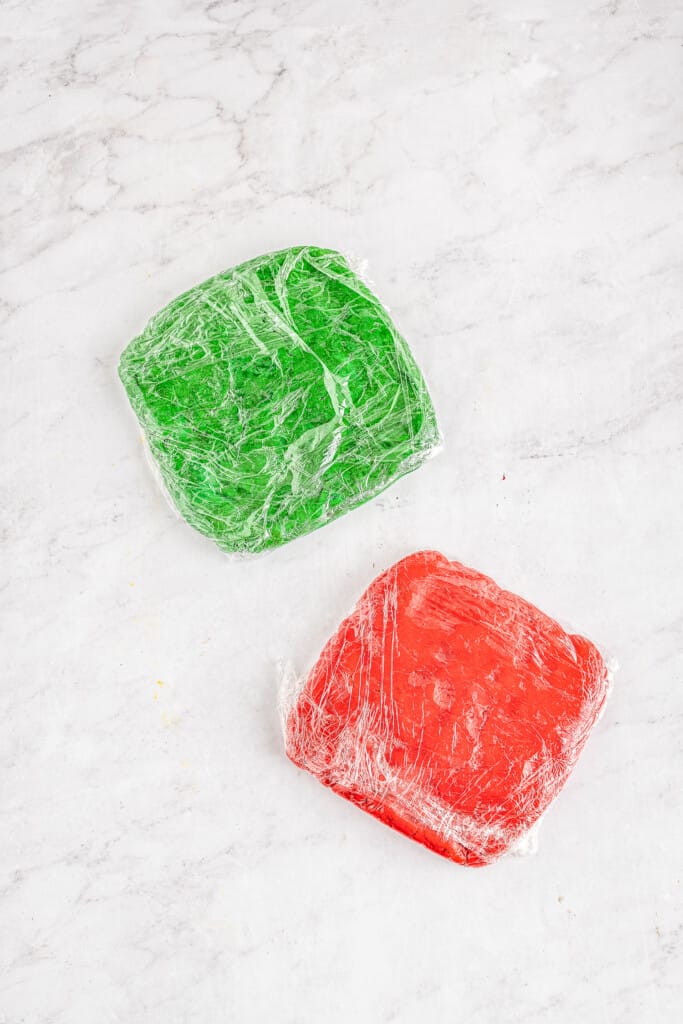
Shape each piece of dough into a square that is 5×5″ big. Wrap them individually with plastic wrap and chill them in the refrigerator for at least 30 minutes.
Once they are cold, remove the wrap and stack the green dough on top of the red dough. They should match up and be aligned.
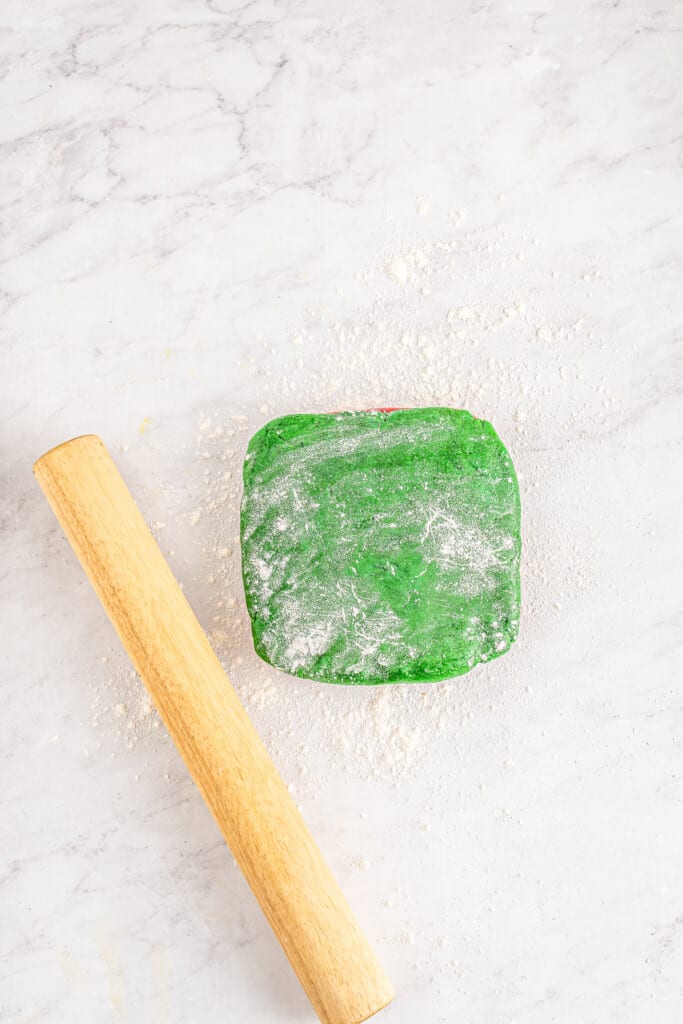
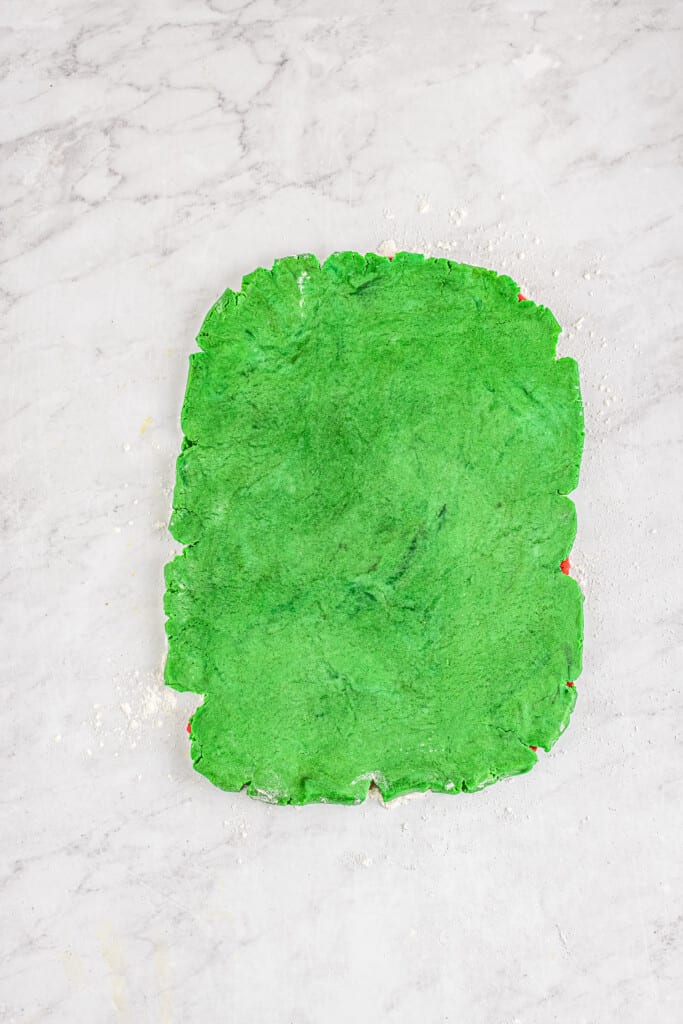
Place the dough on a lightly floured work surface. Sprinkle a little flour over the top and, using a rolling pin, roll the dough into a rectangle approximately 9″ wide and 18 to 20″ long.
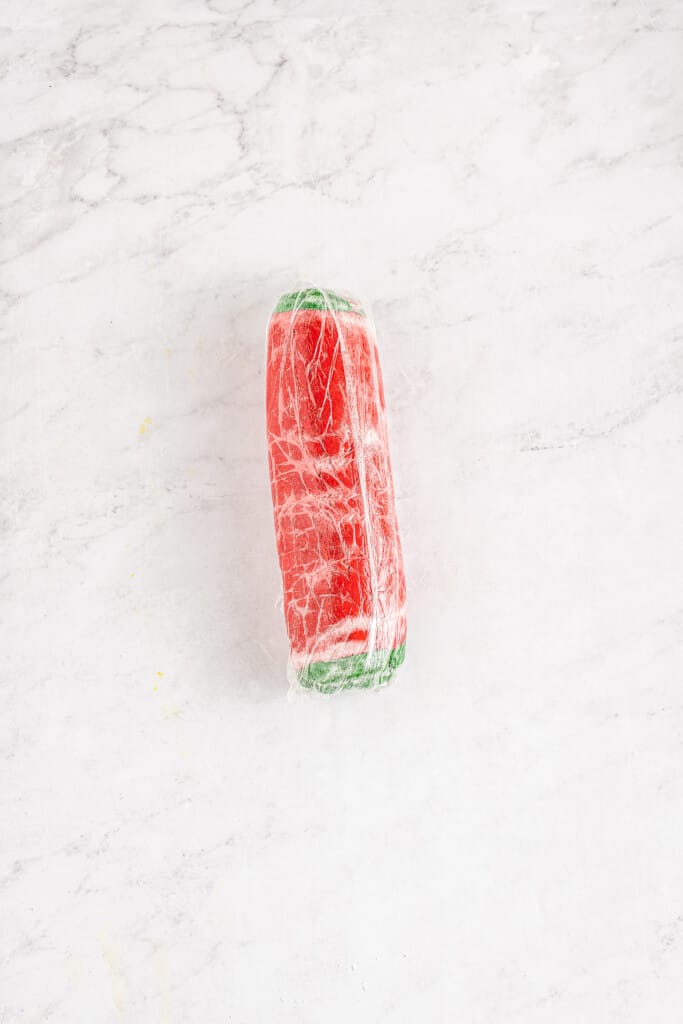
To create the pinwheel effect, start at one long end and roll the dough into itself like a jelly roll. Be sure to roll it tightly. Wrap the log in plastic wrap and chill it for at least one hour.
When you’re ready to bake the cookies, preheat the oven to 350°F and line baking sheets with parchment paper.
Remove the wrap and place the dough log on a cutting board. Slice it into 1/2″ pieces with a sharp knife – this should yield 18 to 20 cookies.
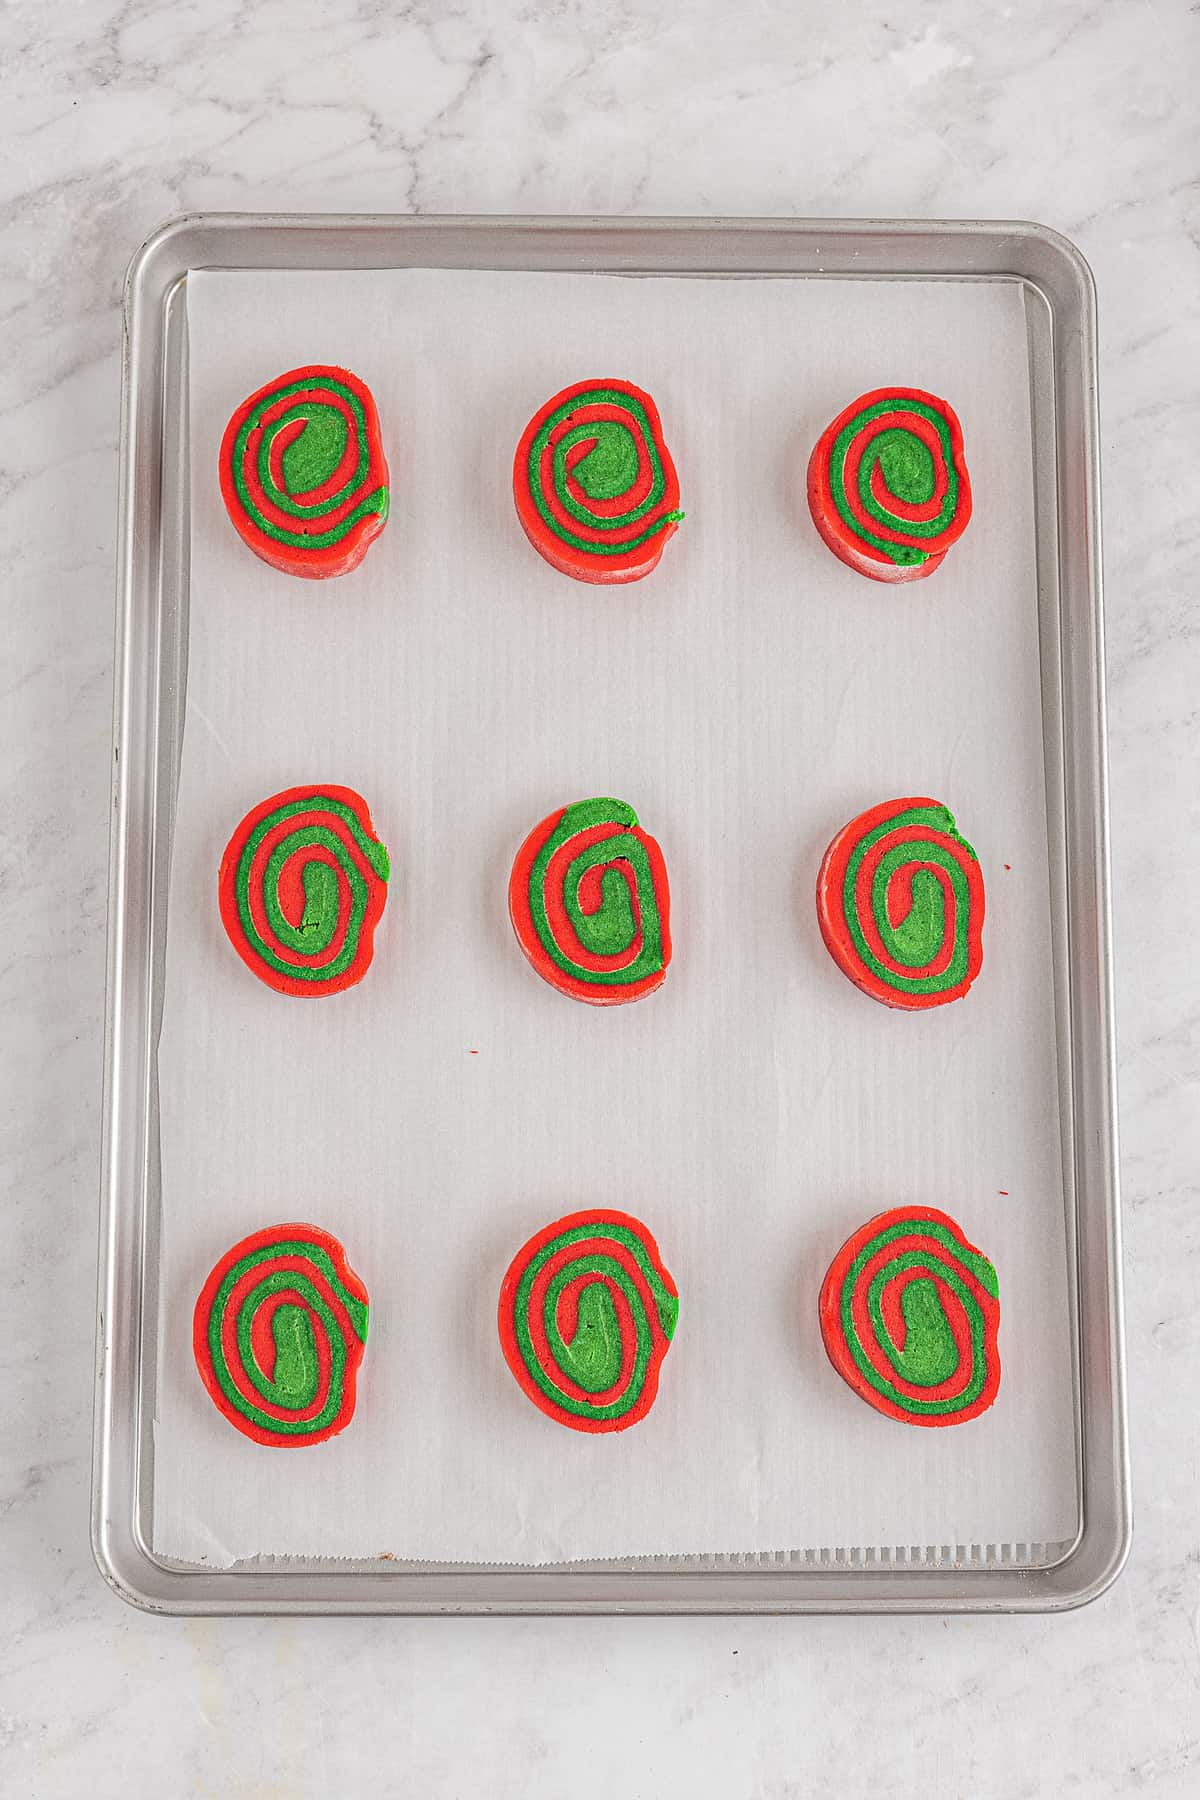
Place the cookies on the prepared baking sheets, spacing them 3″ apart. You should be able to fit nine cookies on a full baking sheet or five cookies on a half baking sheet.
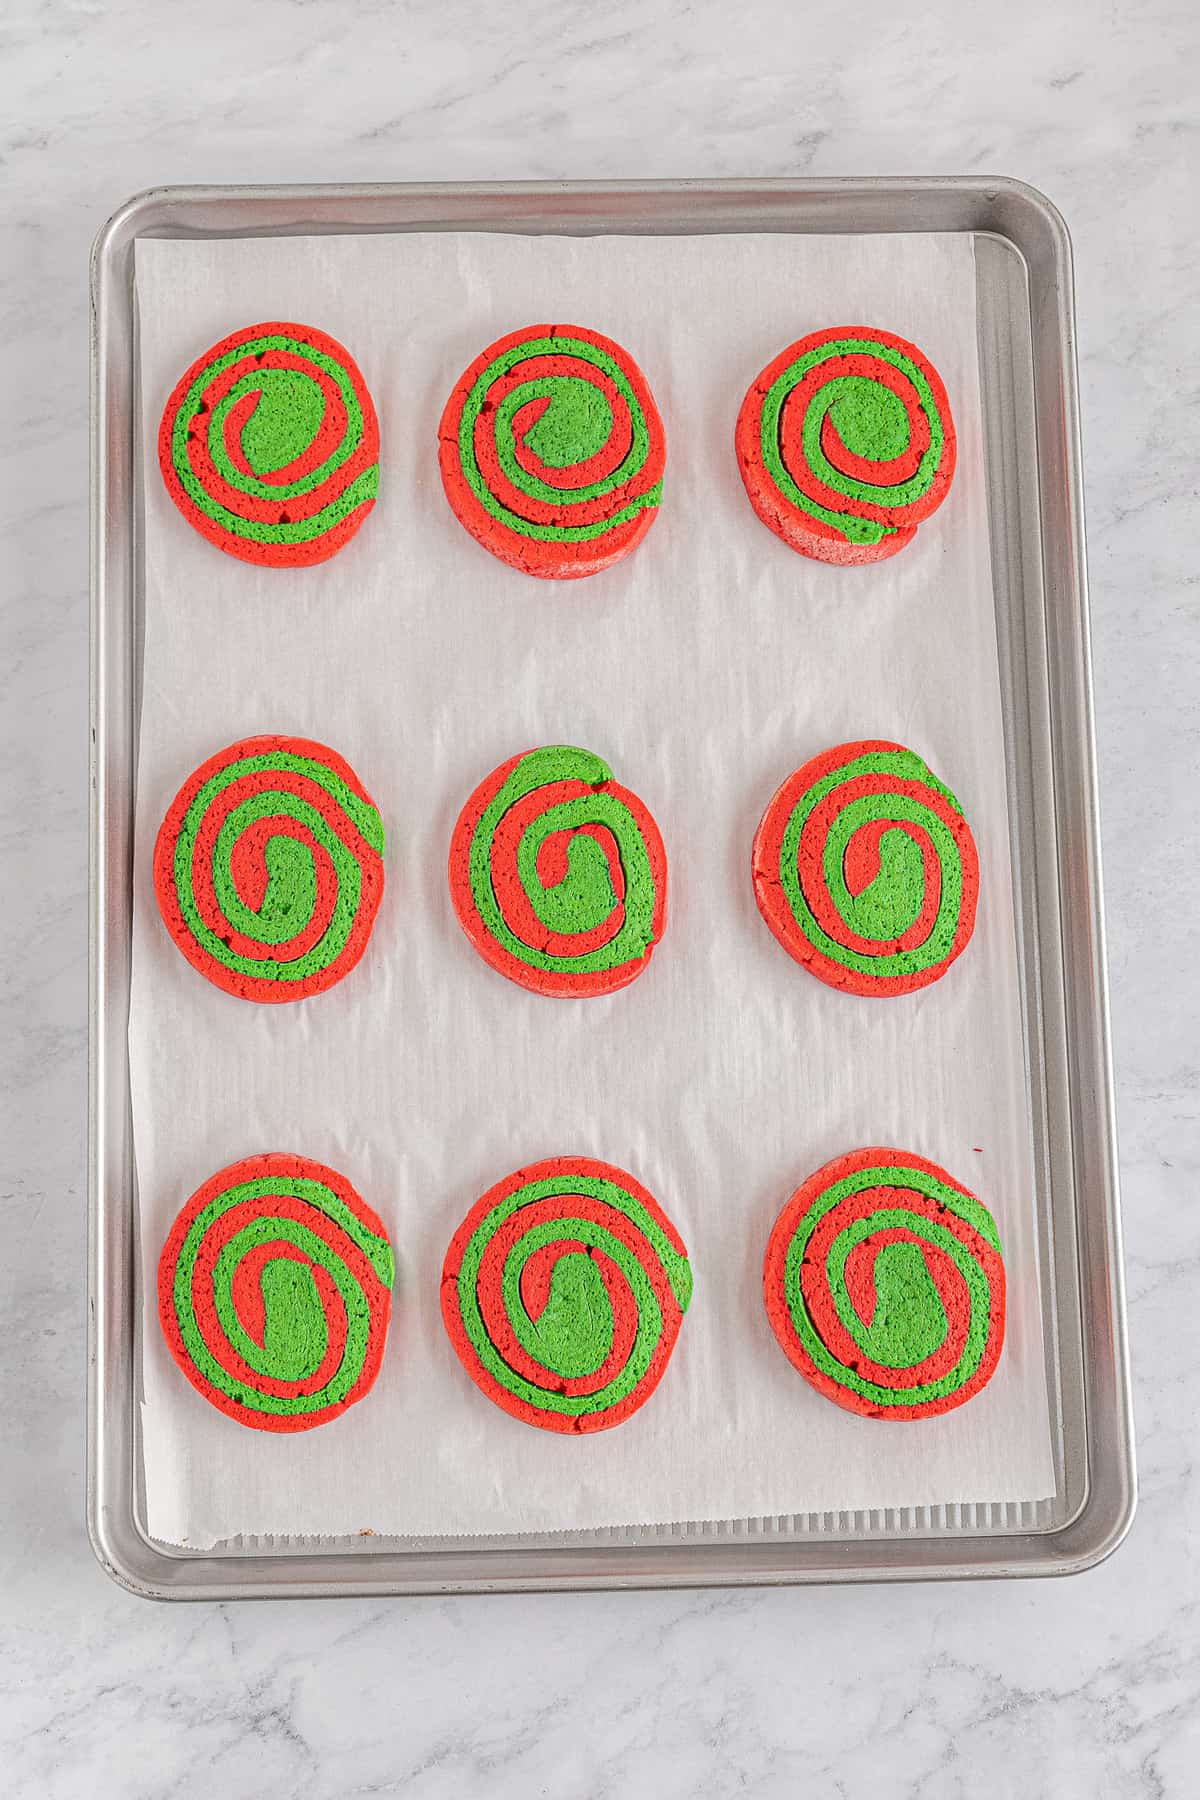
Bake the cookies for 18 to 20 minutes. The cookies are done when the edges are set (but not browned) and the rest of the cookie is soft.
Cool the cookies on wire racks for at least 10 minutes before serving them. Cool them completely before storing them in an airtight container.
Pro Tips
Food Coloring Tip: I highly recommend using green and red gel food coloring. Gel coloring is so much easier to work with – you get the best colors that aren’t faded. Oh, and keep in mind you can use any colors to create fun cookies for any holiday or event!
Flavoring Tip: Feel free to use all vanilla extract if you don’t want to use butter extract. You could also use vanilla extract with almond extract or even peppermint extract if you want a different flavored cookie.
Rolling Tip: Don’t roll these cookies out longer than the measurements given in the directions. If you roll a bigger rectangle the colors will stretch and break, leaving “holes” that will mess up the pinwheel pattern. So, be as precise as you can so you get beautiful cookies.
Baking Tip: For the best soft cookies, don’t overbake them. You should bake them until the edges are set. At this point, the rest of the cookie will still be soft. They will set as they cool.
Make-Ahead Tip: The dough can be made ahead, rolled into a log, and then you can freeze it. When you are ready to slice and bake the cookies, allow the frozen dough to thaw at room temperature for 15 to 20 minutes or until you can easily slice it.
Storage Tip: Wait until the cookies are completely cooled before storing them in an airtight container. I like to layer the cookies with wax paper – this keeps them from sticking to each other. They will keep well for up to five days at room temperature.
I hope you skip the store-bought slice and bake cookies this year and give these homemade Christmas pinwheel cookies a try! They are so great for all the cookie platters – everyone will love them!
More Christmas Recipes
- Chocolate Mint Thumbprint Cookies combine two favorite flavors in one amazing cookie!
- Almond Cookies have a cherry baked in the center for a surprise-inside treat!
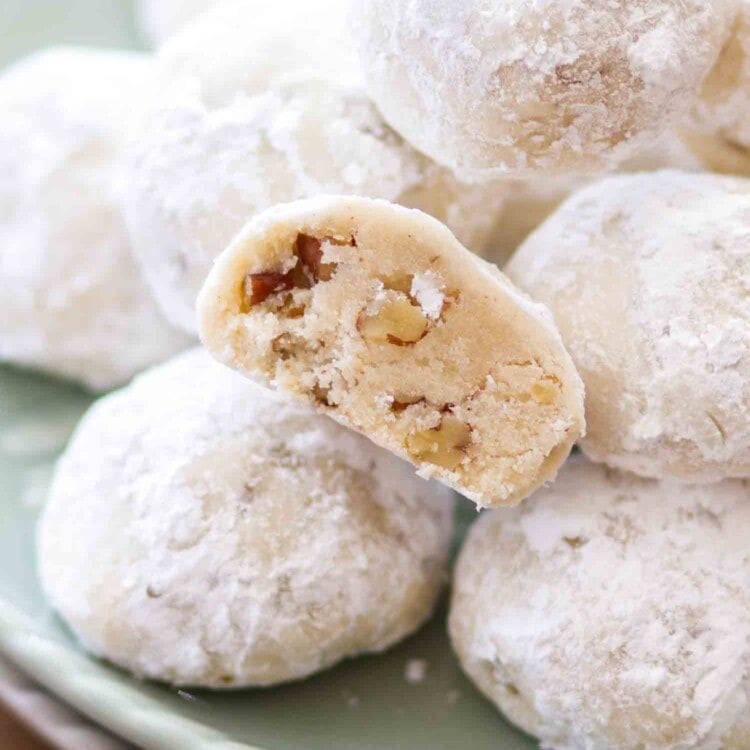
- Snowballs (Mexican Wedding Cookies) are easy to make and a holiday classic.
- Chocolate Crinkle Cookies dusted in powdered sugar are always a favorite, too.
- Almond Joy Cookies taste just like the candy bar with coconut, chocolate, and white chocolate chips!
- Christmas Sugar Cookies decorated with royal icing will wow your family and friends!
- Chocolate Peppermint Cookies with double the chocolate for all of you chocoholics out there!
- Pecan Tassies are mini bite sized pecan pies! Perfect for serving at the holidays or on a dessert board!
- These delicious homemade vanilla cupcakes are topped with homemade buttercream frosting that’s swirled with white and green, then topped with sprinkles for a festive Christmas Cupcake!
Did you make this? If you snap a photo, please be sure tag me on Instagram at @julieseatsandtreats or #julieseatsandtreats so I can see your yummy treat!
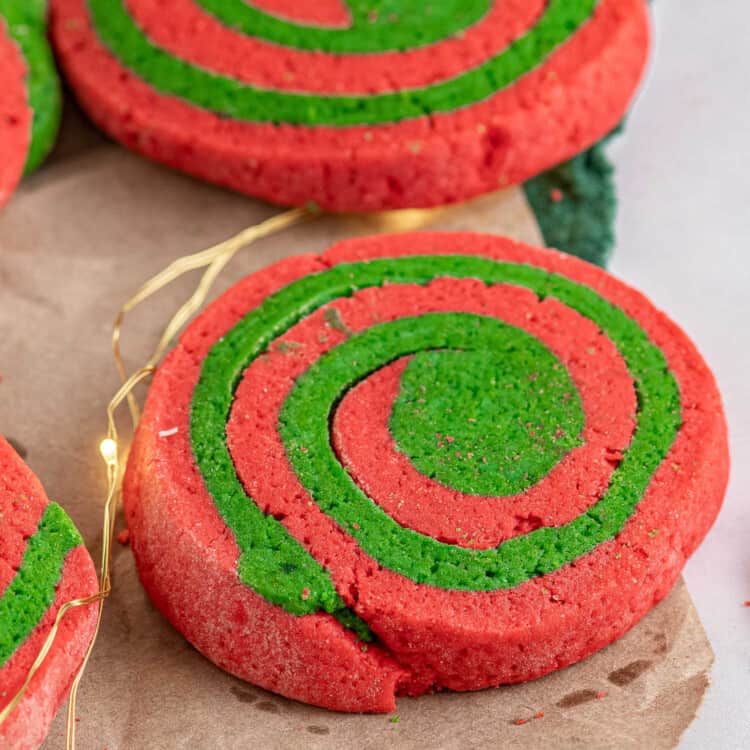
Christmas Pinwheel Cookies
Soft, chewy red and green pinwheel cookies that are perfect for Christmas treats!
Ingredients
- 3 ⅔ cups all purpose flour
- ½ teaspoon baking powder
- ½ teaspoon salt
- ½ teaspoon baking soda
- 1 cup butter room temperature
- ⅔ cup brown sugar
- ⅓ cup sugar
- 1 egg room temperature
- 1 egg yolk room temperature
- ¼ cup milk
- ¼ teaspoon vanilla
- ¼ teaspoon butter extract
- Red and green food coloring gel food coloring recommended
Instructions
- In a large mixing bowl, whisk together the flour, baking powder, salt and baking soda. Set aside.
- In the bowl of a stand mixer fitted with a paddle attachment, beat together the butter, brown sugar and sugar on high speed for 1 minute or until smooth and creamy.
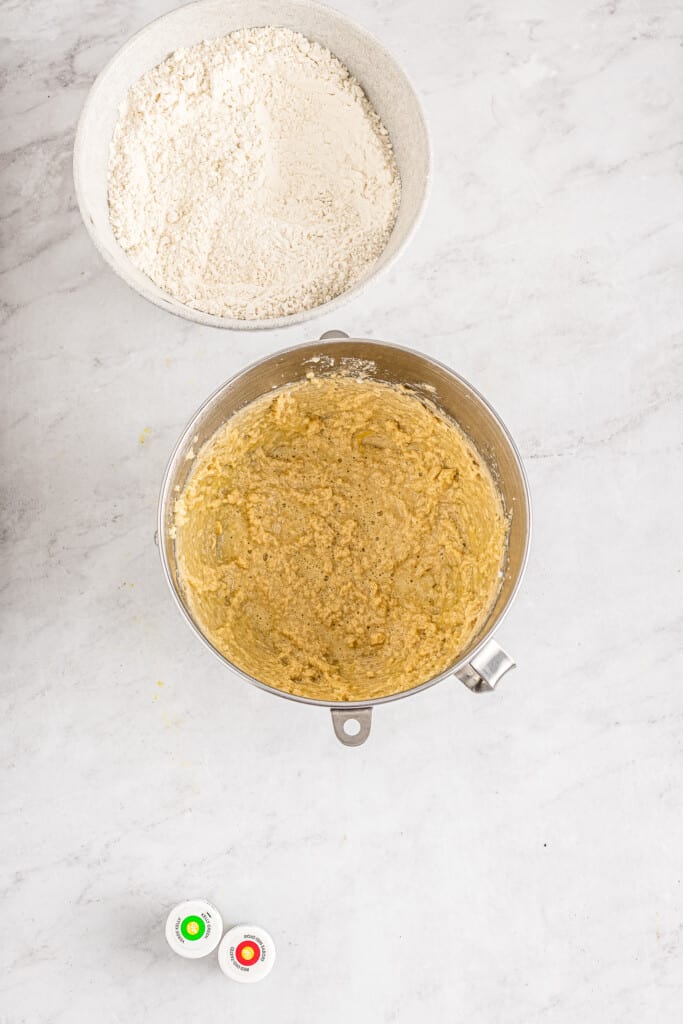
- Next add in the eggs, milk, vanilla and butter extract. Beat together for 30 seconds.
- Then add in the flour mixture and bring together until fully incorporated being careful to not overmix.
- Divide the dough in half and place each half in a separate bowl. Then add red food coloring to one bowl and green food coloring to the other bowl. Mix well until all of the dough is evenly colored.
- Transfer each section of dough to two separate, large pieces of plastic wrap. Shape each section of dough into a 5×5” square. Wrap tightly with plastic wrap and place both squares into the refrigerator to chill for 30 minutes.
- Once the dough has chilled, remove the plastic wrap, stack the dough squares on top of each other so that they are perfectly aligned.
- Place the dough onto a lightly floured surface. Gently flour the top of the dough. Use a rolling pin to roll the square out into a rectangle about 9” wide and 18-20” long. Tightly roll the dough up into a log starting on the long end.
- Tightly wrap the log with plastic wrap and place it into the fridge to chill for at least 1 hour.
- Once the dough log has chilled, preheat the oven to 350 F. Line a baking sheet with parchment paper.
- Unwrap the plastic wrap from around the dough log. Place the log onto a cutting board and slice ½” wide cookies. You should have 18-20 cookies.
- Place the cookies onto the prepared baking sheet leaving at least 3” of space between each cookie for spreading. For a full baking sheet, you can fit 9 cookies and for a half baking sheet you can fit 5 cookies max.
- Place the baking sheet into the oven to bake for 18-20 minutes. The cookies should not be browned around the edges. The edges will feel set and the rest of the cookie will feel soft.
- Remove the baking sheet from the oven and place the cookies onto a cooling rack to cool completely. Bake the remaining cookies in the same manner.
- Allow the cookies to cool for at least 10 minutes before serving as this allows the cookies to set up.
Tips
Food Coloring Tip: I highly recommend using green and red gel food coloring. Gel coloring is so much easier to work with – you get the best colors that aren’t faded. Oh, and keep in mind you can use any colors to create fun cookies for any holiday or event!
Flavoring Tip: Feel free to use all vanilla extract if you don’t want to use butter extract. You could also use vanilla extract with almond extract or even peppermint extract if you want a different flavored cookie.
Rolling Tip: Don’t roll these cookies out longer than the measurements given in the directions. If you roll a bigger rectangle the colors will stretch and break, leaving “holes” that will mess up the pinwheel pattern. So, be as precise as you can so you get beautiful cookies.
Baking Tip: For the best soft cookies, don’t overbake them. You should bake them until the edges are set. At this point, the rest of the cookie will still be soft. They will set as they cool.
Make-Ahead Tip: The dough can be made ahead, rolled into a log, and then you can freeze it. When you are ready to slice and bake the cookies, allow the frozen dough to thaw at room temperature for 15 to 20 minutes or until you can easily slice it.
Storage Tip: Wait until the cookies are completely cooled before storing them in an airtight container. I like to layer the cookies with wax paper – this keeps them from sticking to each other. They will keep well for up to five days at room temperature.
Nutrition Information
Serving: 1cookie, Calories: 237kcal (12%), Carbohydrates: 31g (10%), Protein: 3g (6%), Fat: 11g (17%), Saturated Fat: 7g (44%), Polyunsaturated Fat: 1g, Monounsaturated Fat: 3g, Trans Fat: 1g, Cholesterol: 47mg (16%), Sodium: 193mg (8%), Potassium: 62mg (2%), Fiber: 1g (4%), Sugar: 12g (13%), Vitamin A: 349IU (7%), Calcium: 25mg (3%), Iron: 1mg (6%)

Malinda says
These were so festive and added a nice pop of color to my Christmas cookie tray!
Danielle says
Had fun making these with the kids!
Alison LaFortune says
These turned out adorable. Loved all the instructions to make them to perfection.