Fruity Pebble Treats
Leave a Comment
Updated: 07/12/23
This post may contain affiliate links. Please read our disclosure policy.

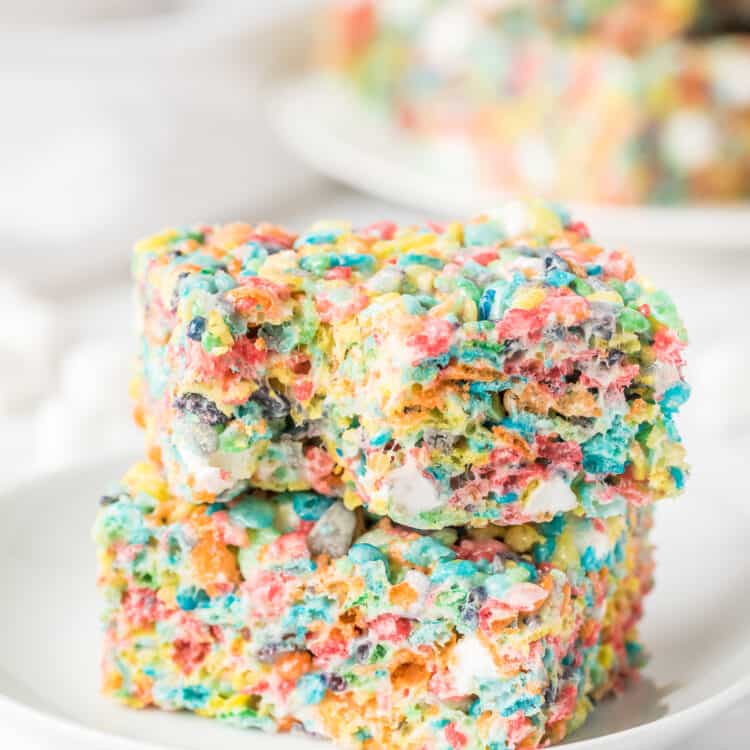
Easy No-Bake Fruity Pebble Treats only have 4 ingredients and are so delicious. They are chewy, soft and kids love them. Make a pan of these gooey no-bake bars today.

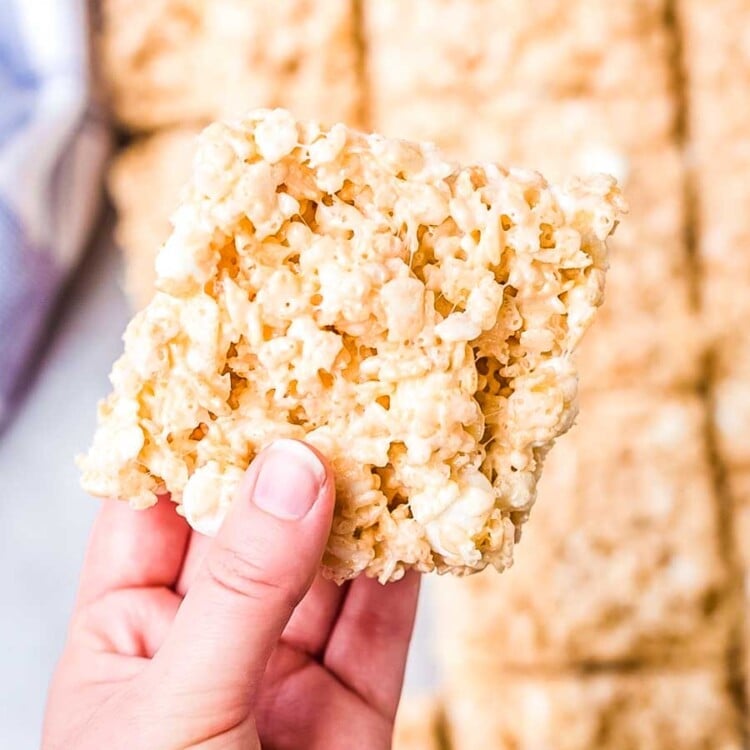
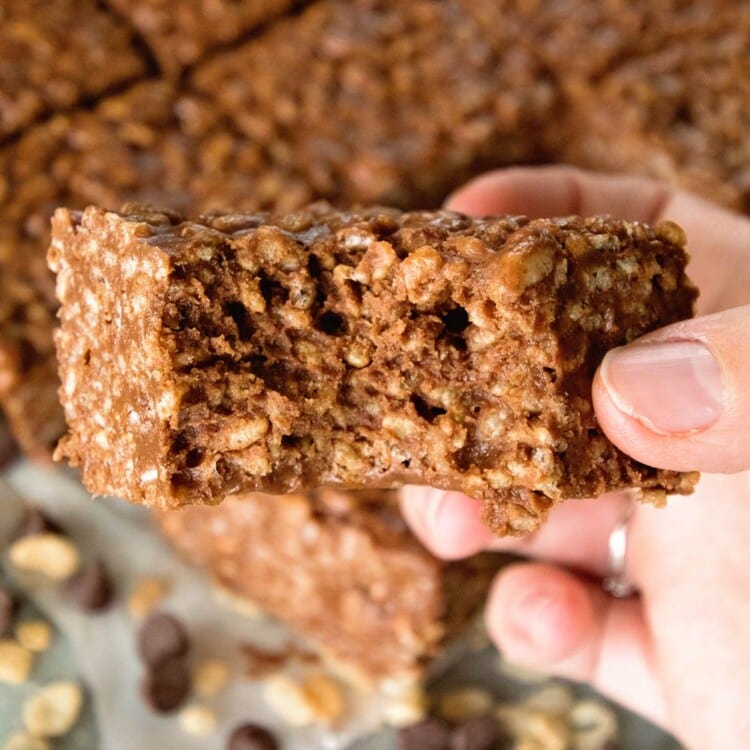
Cereal treats are among one of my favorite no-bake recipe to make. We make rice krispie treats all the time, and love to make lucky charms treats and some yummy chocolate peanut butter rice krispie treats too. So, it just makes sense to make a gooey sweet treat out of fruity pebbles!
If you like the marshmallow fruity pebbles cereal, then you’ll LOVE this recipe. This a great easy recipe to make during the summer, or to make during the school year to pack in your kid’s lunches.
It’s great when I find good recipes that don’t require heating up the house with the oven. If you’ve got a microwave, you can make this fruity pebbles treats recipe!
These are worlds better than the one you can buy in the grocery store too. Loaded with way more marshmallows, taste more fresh, and you get to have fun making them in the comfort of your own kitchen. This recipe is guaranteed to create lots of smiles!
Why You’ll Love Fruity Pebble Treats
- You only need 12 minutes out of your busy day to prep a delicious batch of fruity pebbles marshmallow treats.
- This easy recipe is a great treat to make for parties and get-togethers. Everyone loves marshmallow treats, and this recipe makes 20 bars.
- After making fruity pebbles treats, the clean-up is minimal! You’ll only have a dirty bowl, a few utensils, and a pan.
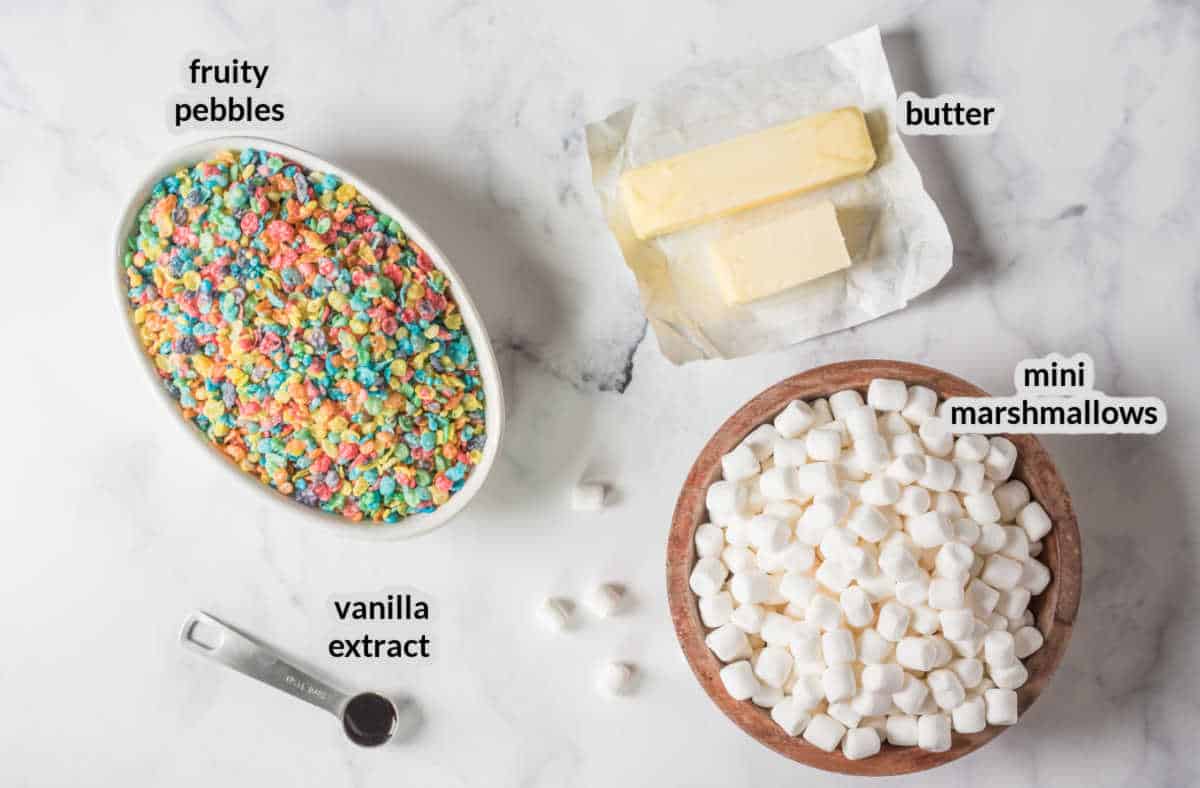
Ingredients for Fruity Pebble Treats
- Fruity pebbles – You will need 8 ½ cups of Fruity Pebbles for this recipe. The average box will likely not have that many cups, so grab a family size box to ensure you have plenty!
- Mini marshmallows – Mini marshmallows tend to melt a little more easily. But feel free to use large marshmallows if that’s all you can find!
- Butter – Salted and unsalted butter will both be great!
- Vanilla extract – Add a splash of vanilla extract to compliment the fruity flavor of the cereal.
Helpful Tools
How to Make Fruity Pebbles Marshmallow Treats
Begin by generously spraying a 9×13 pan with non-stick cooking spray. Alternatively, you can line it with heavy duty aluminum foil and spray that with cooking spray. Let the foil drape over the side of the pan so that you can easily remove them.
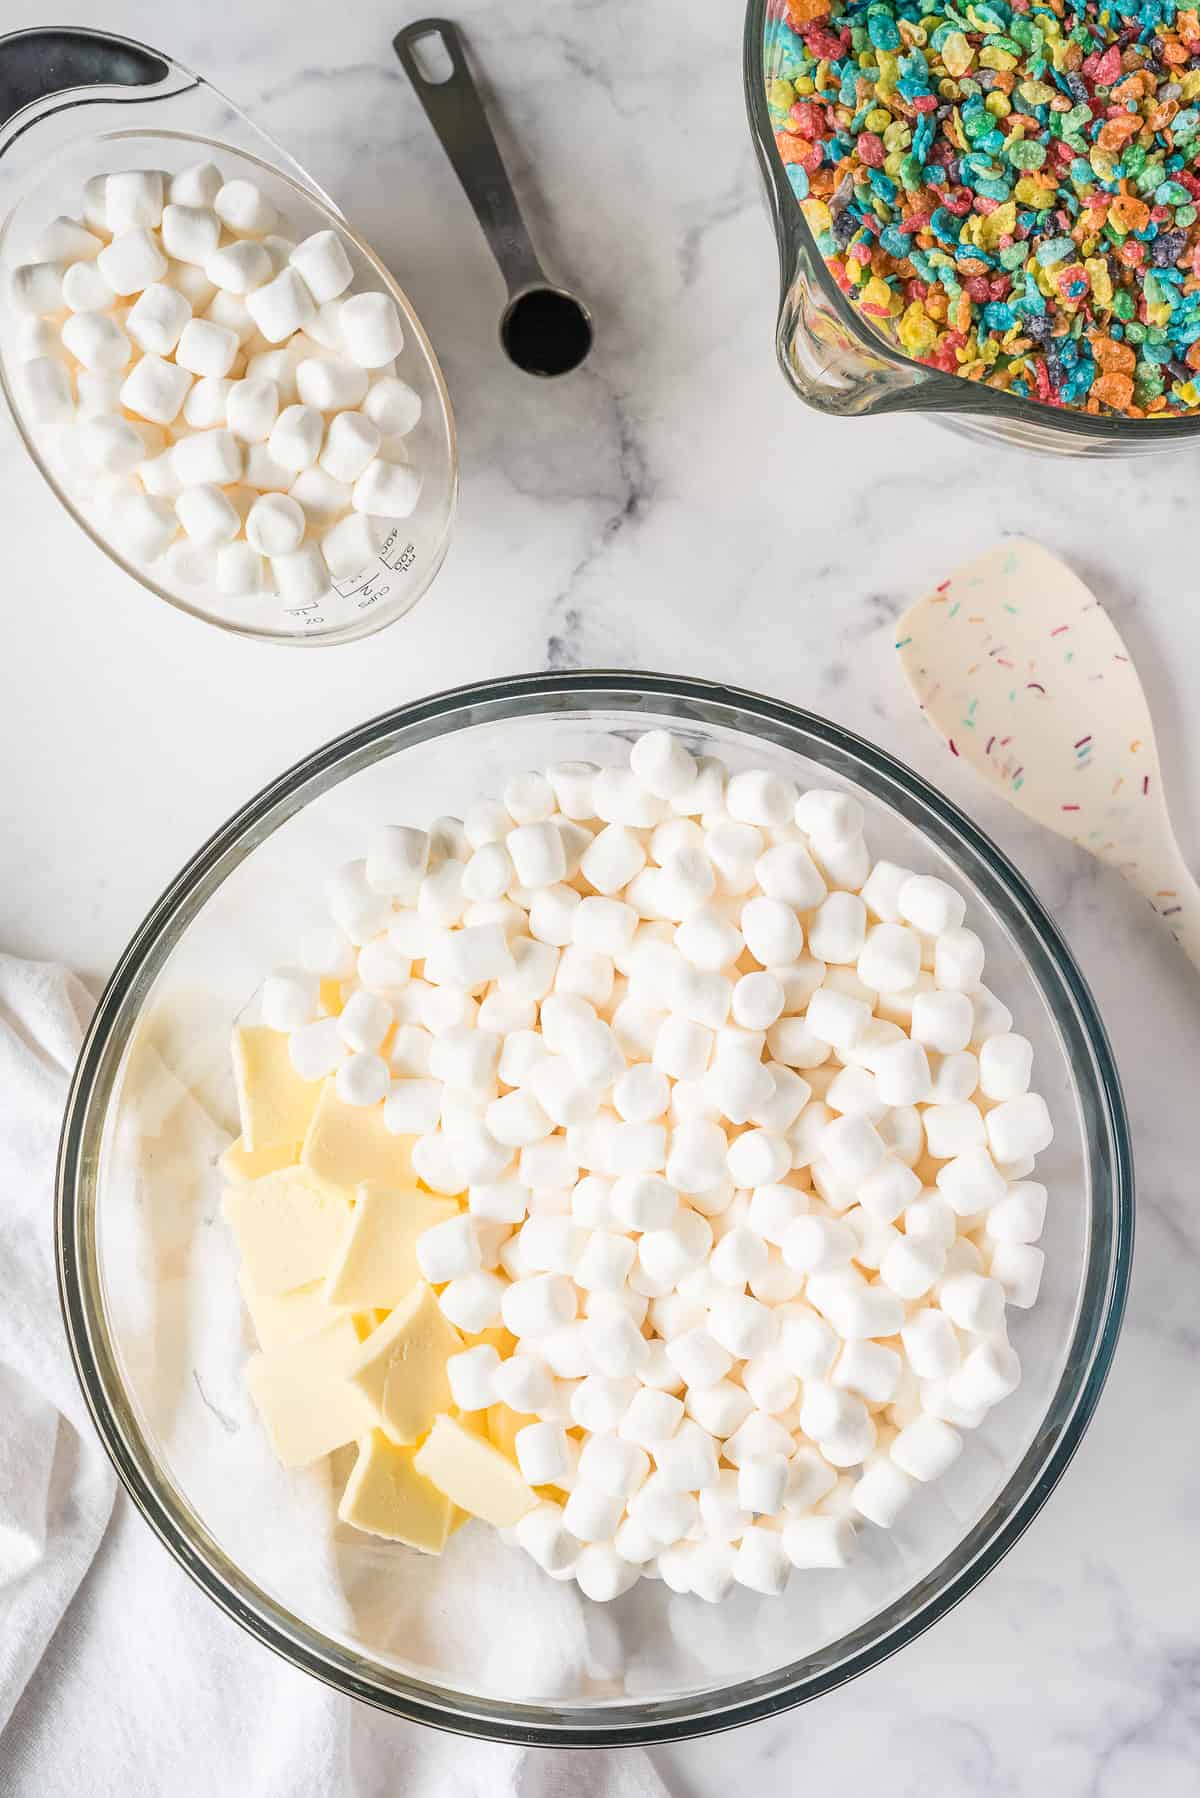
Set aside two cups of marshmallows. Then, slice butter into thin chunks so that it will melt quickly in the microwave.
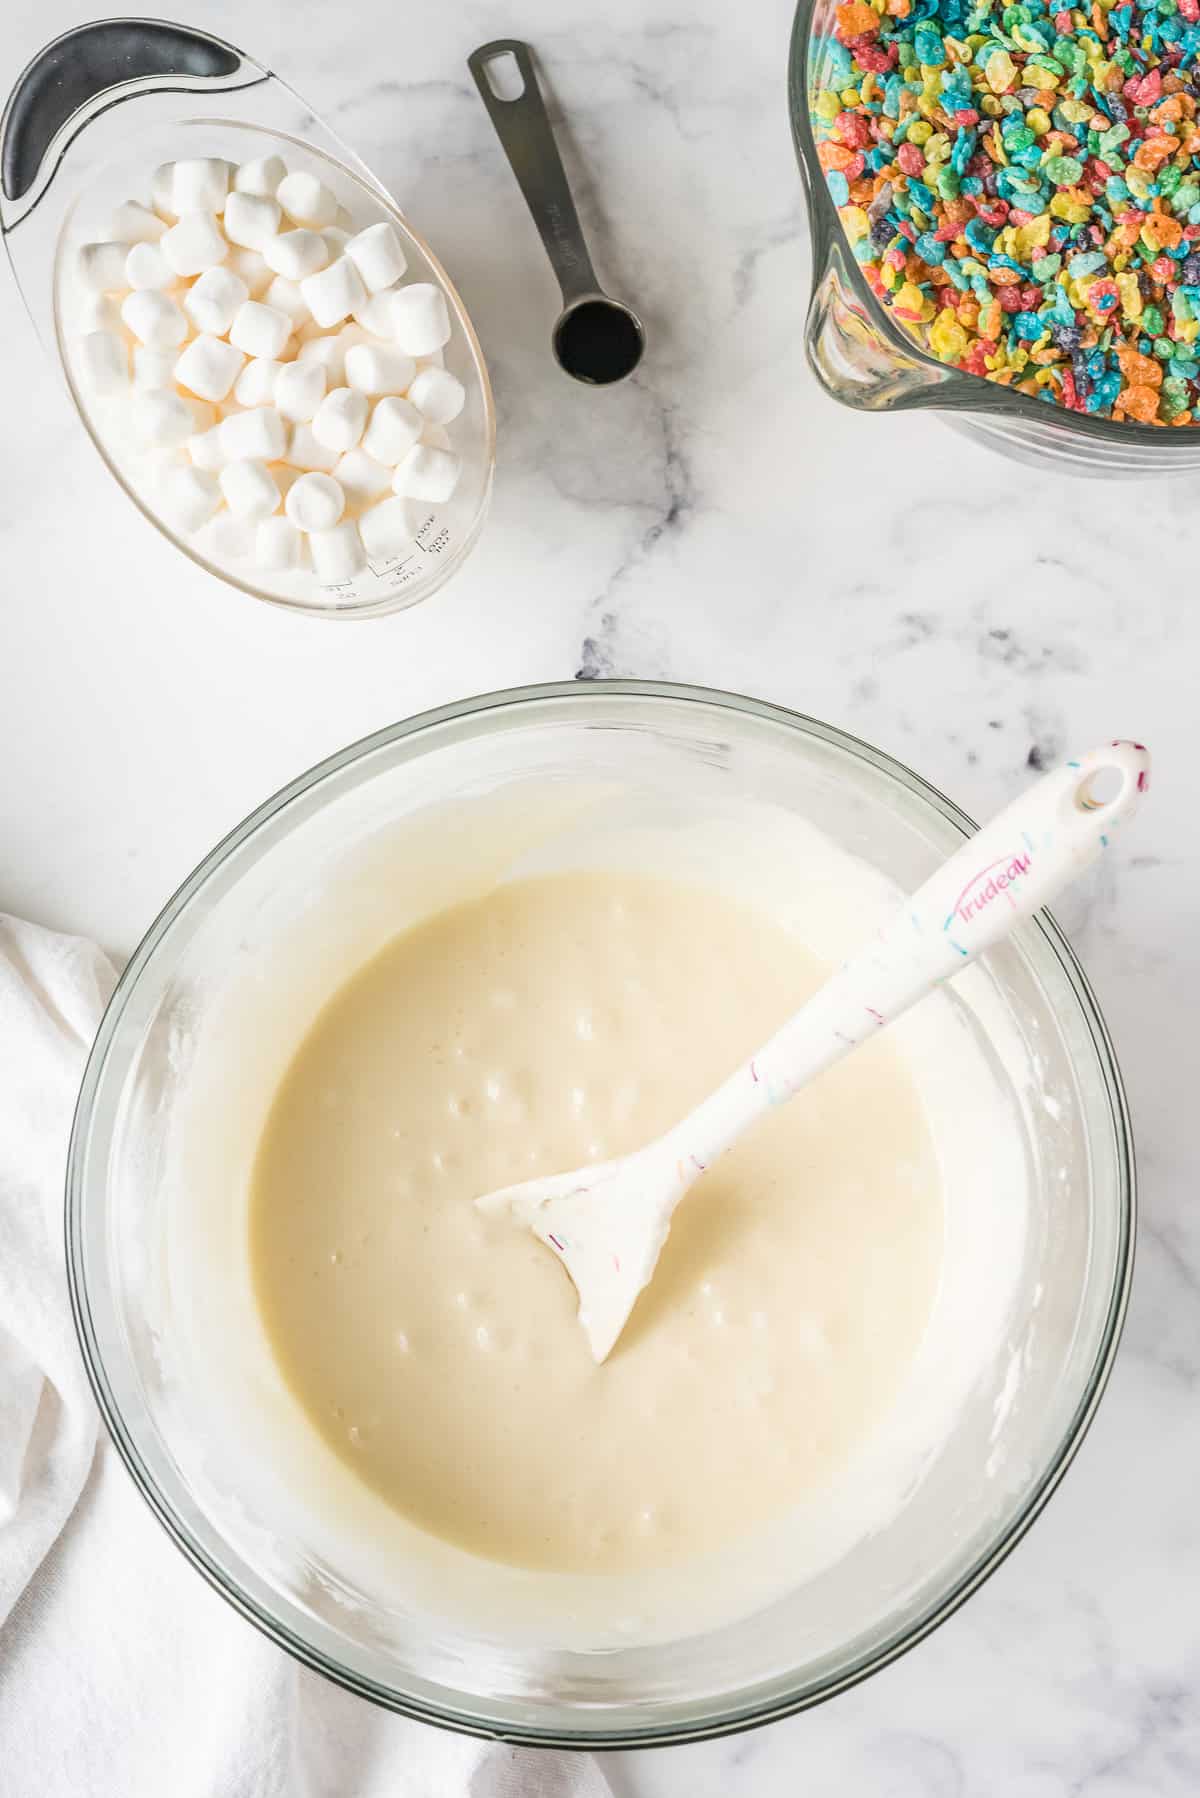
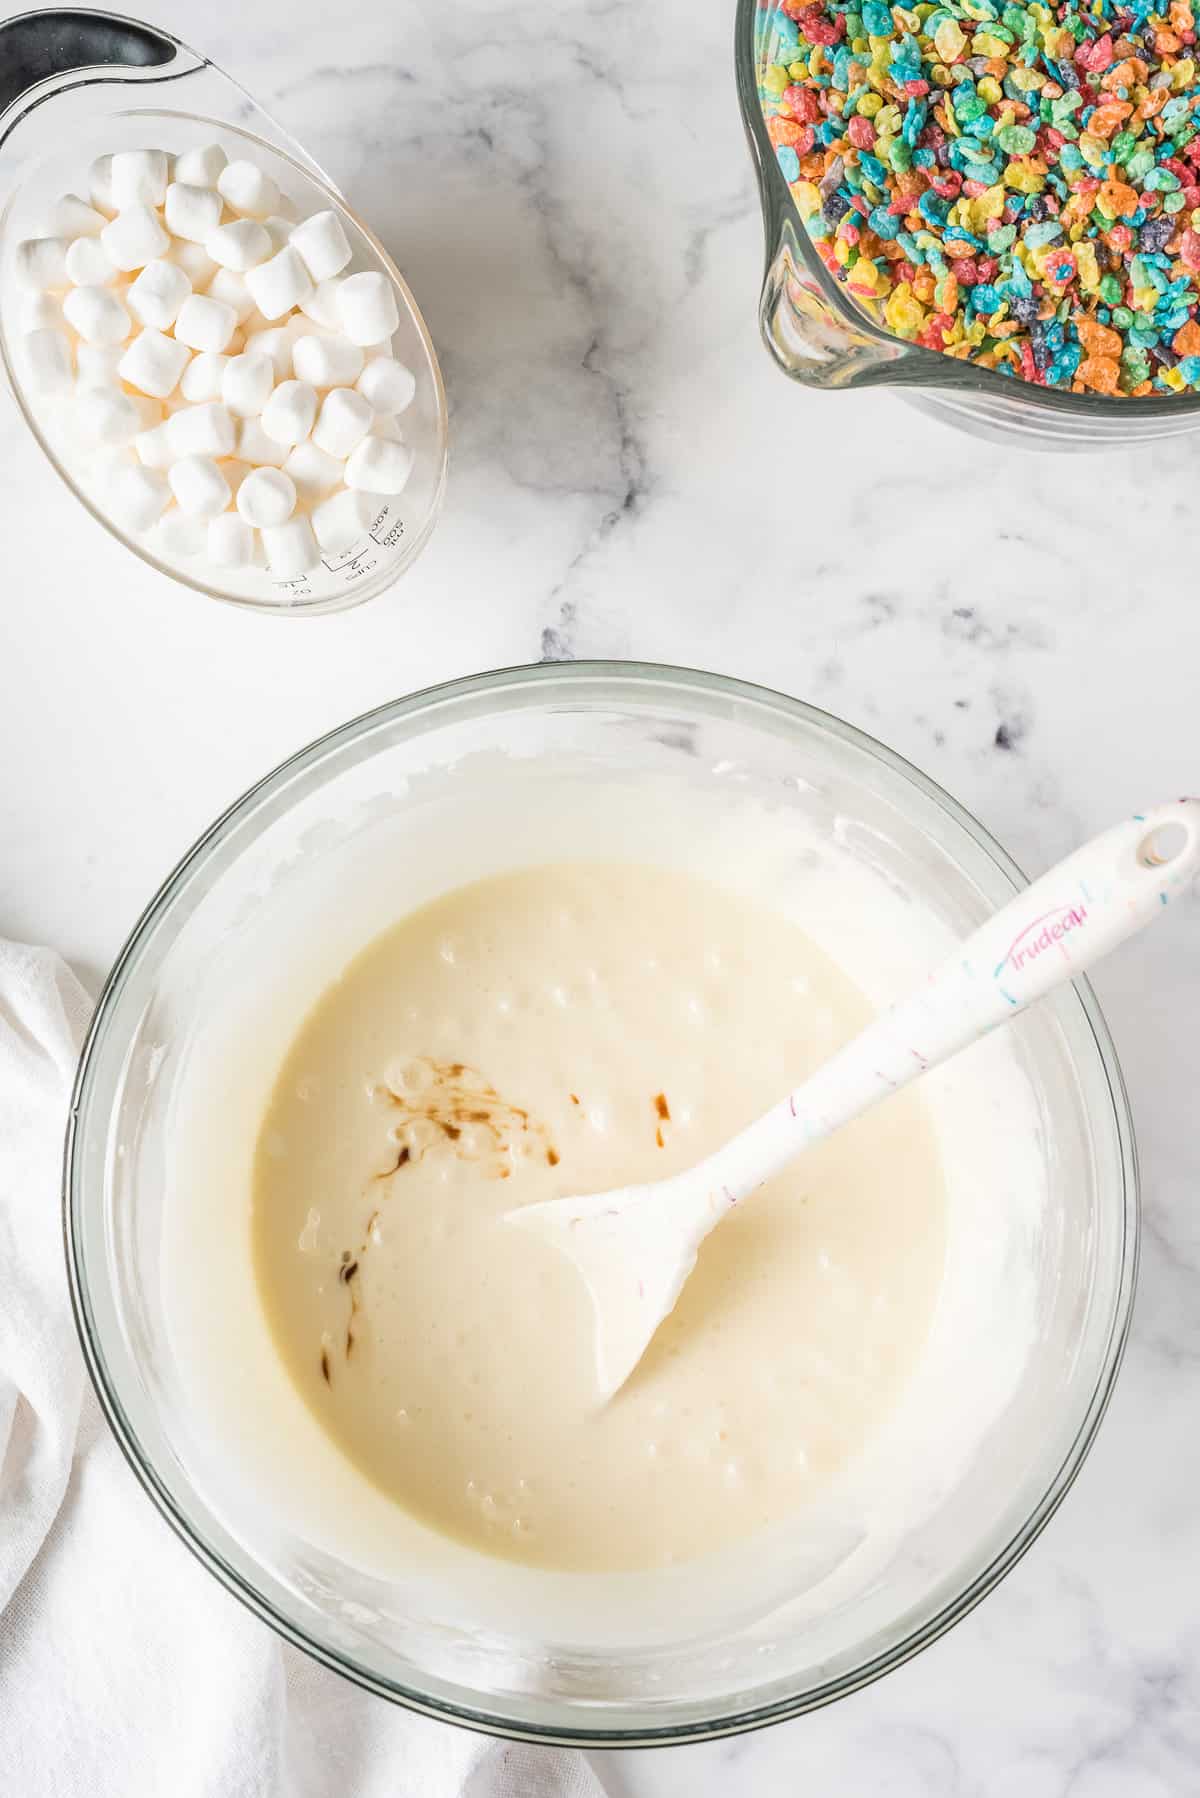
Place the remaining marshmallows and the chunks of butter in a large microwave safe bowl. Microwave the ingredients for 2 minutes, them remove and stir until all of the marshmallows are melted and everything is combined. Add vanilla and mix to combine.
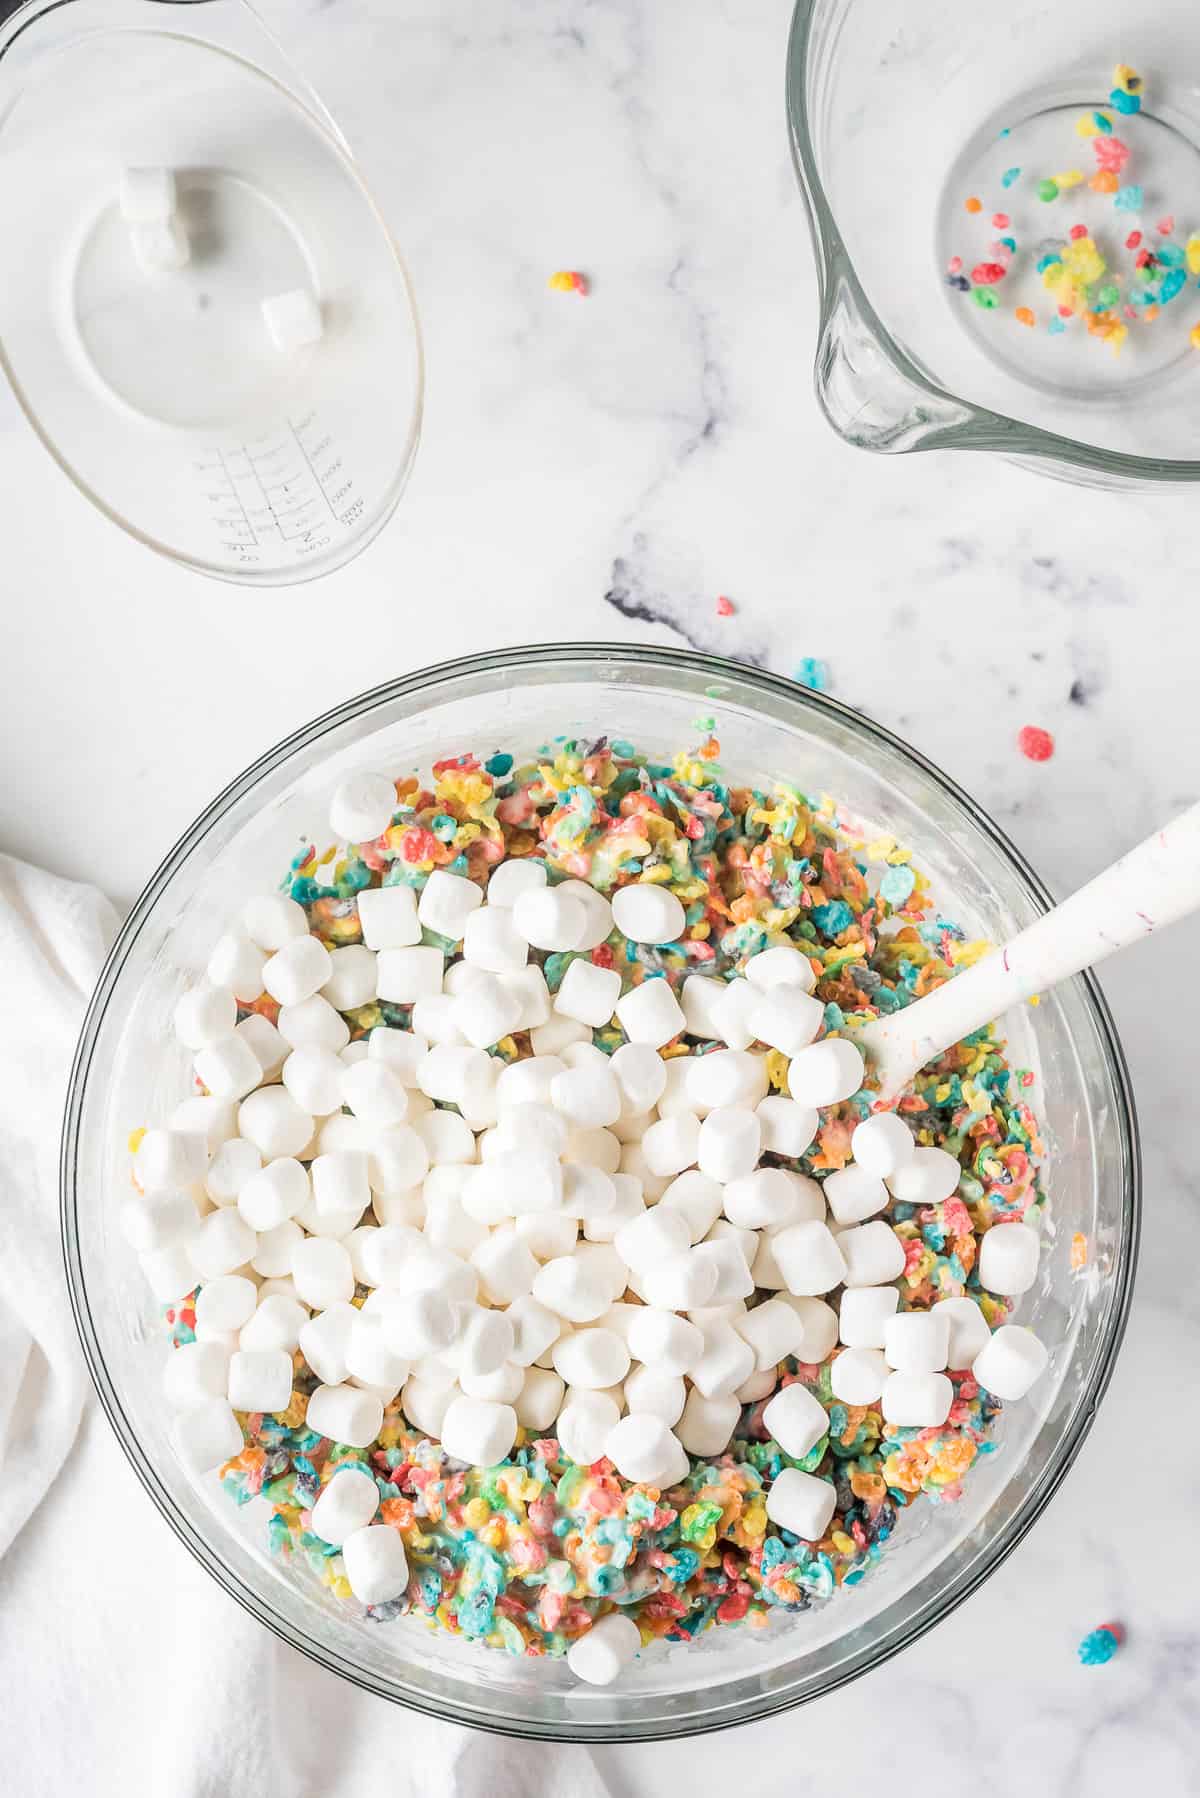
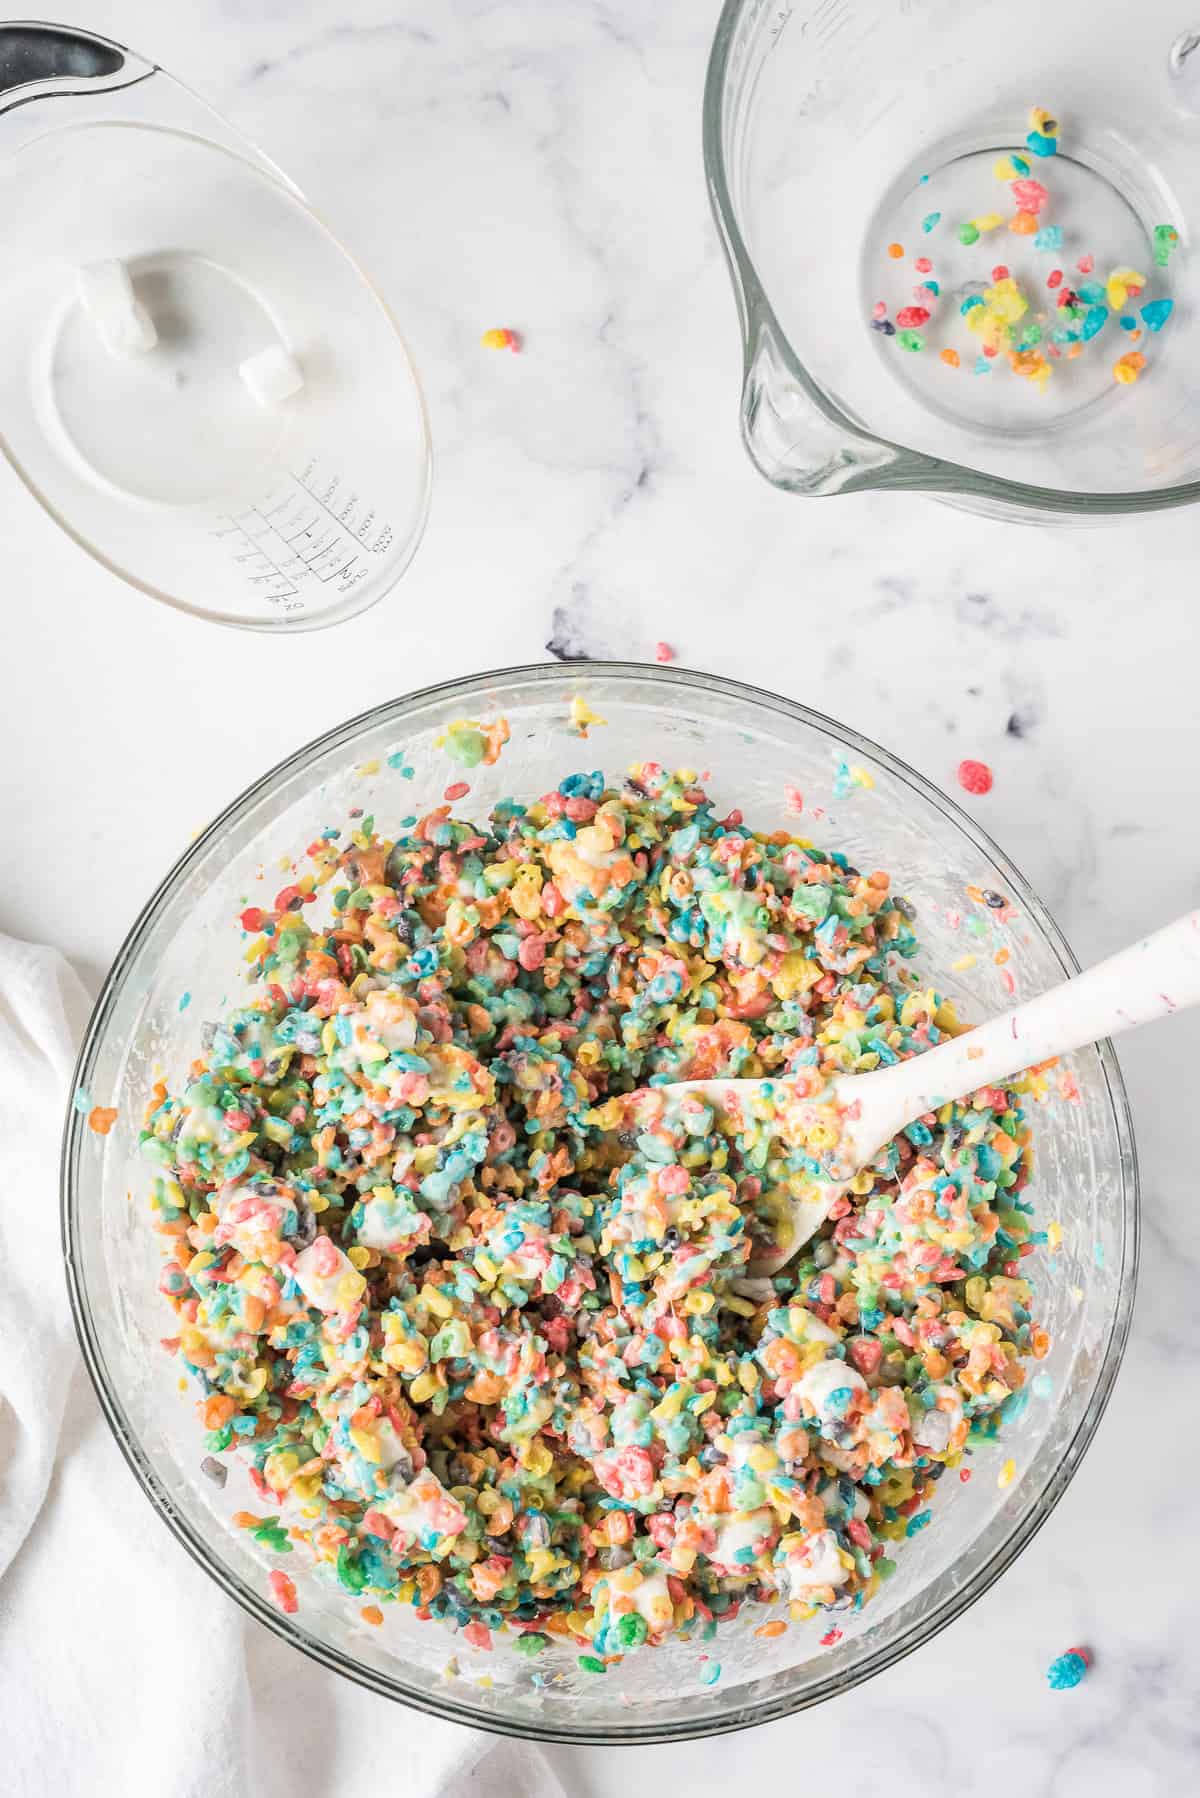
While the mixture is still hot and stirrable, quickly mix in the cereal. Once everything is well combined, stir in the reserved marshmallows until soft and partially melted.

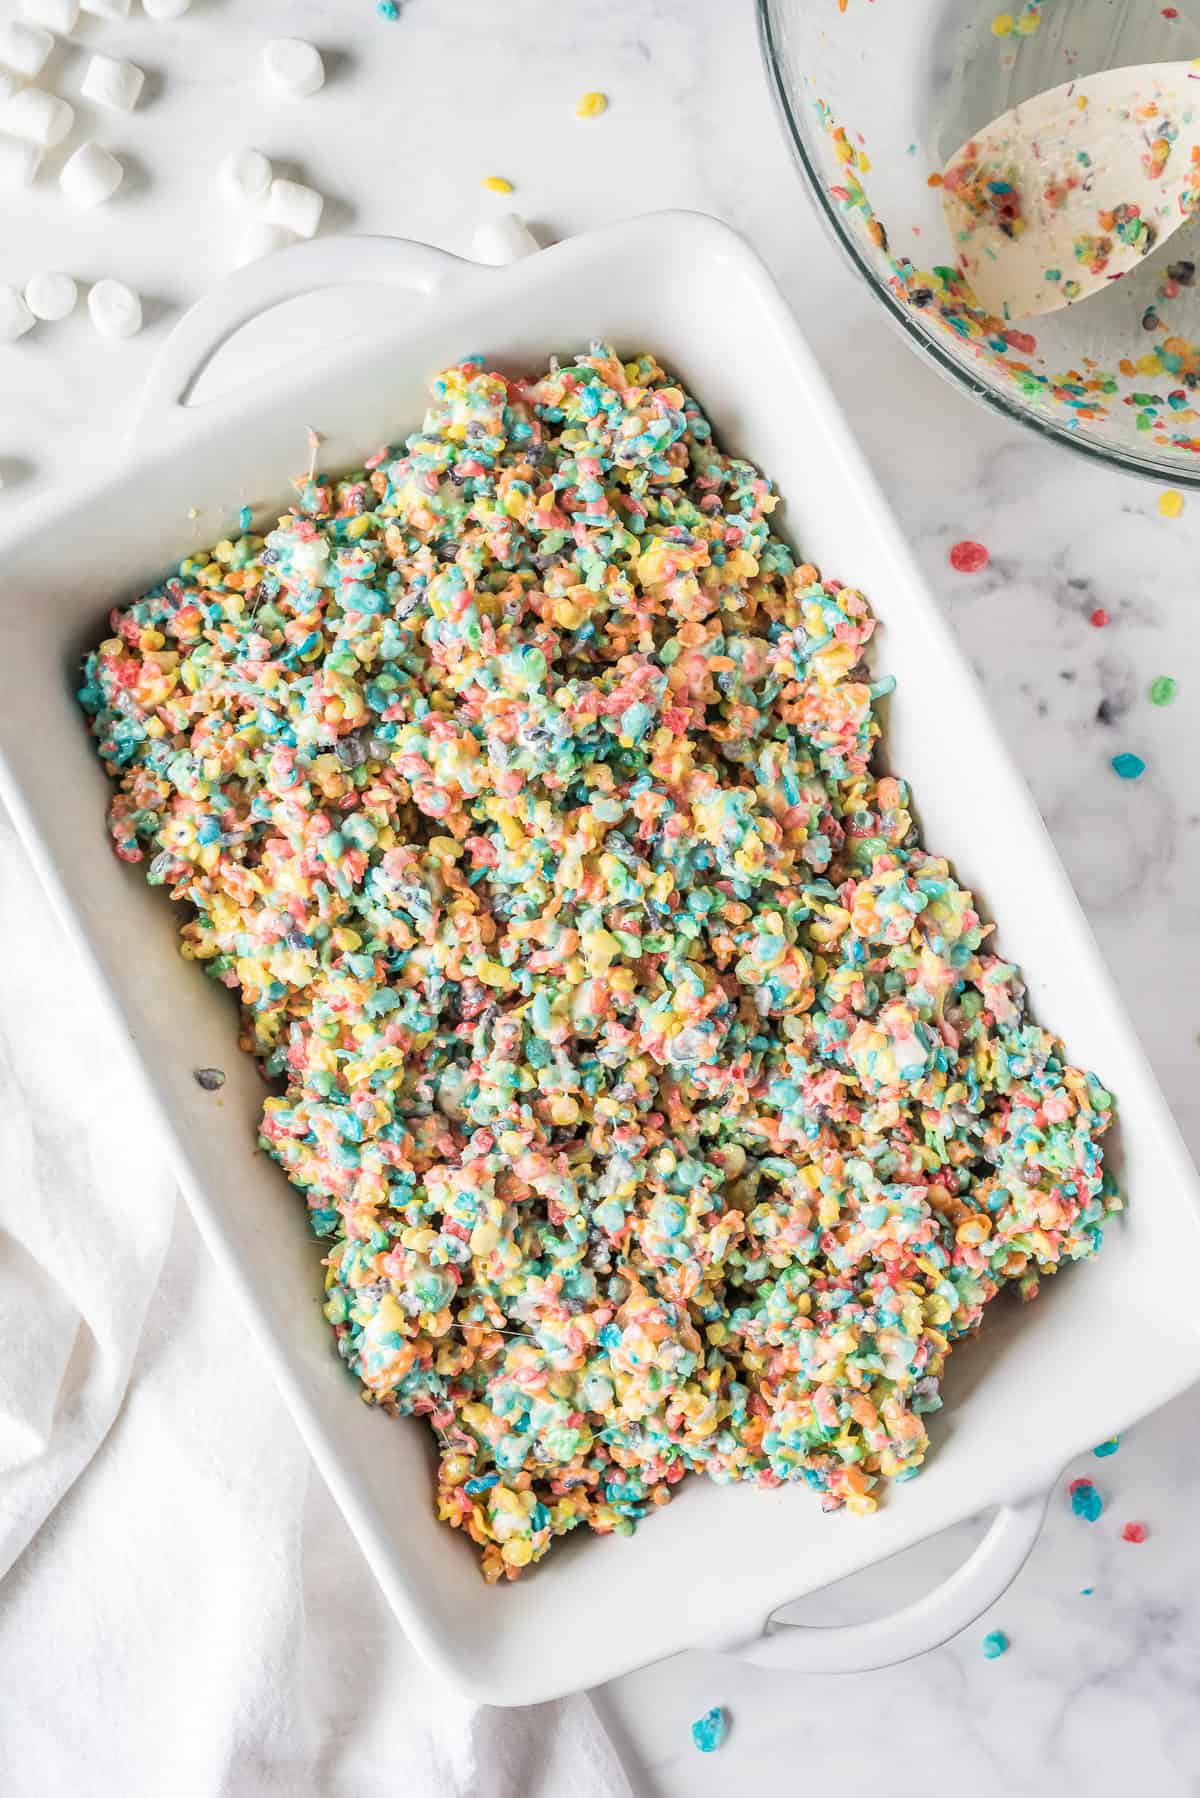
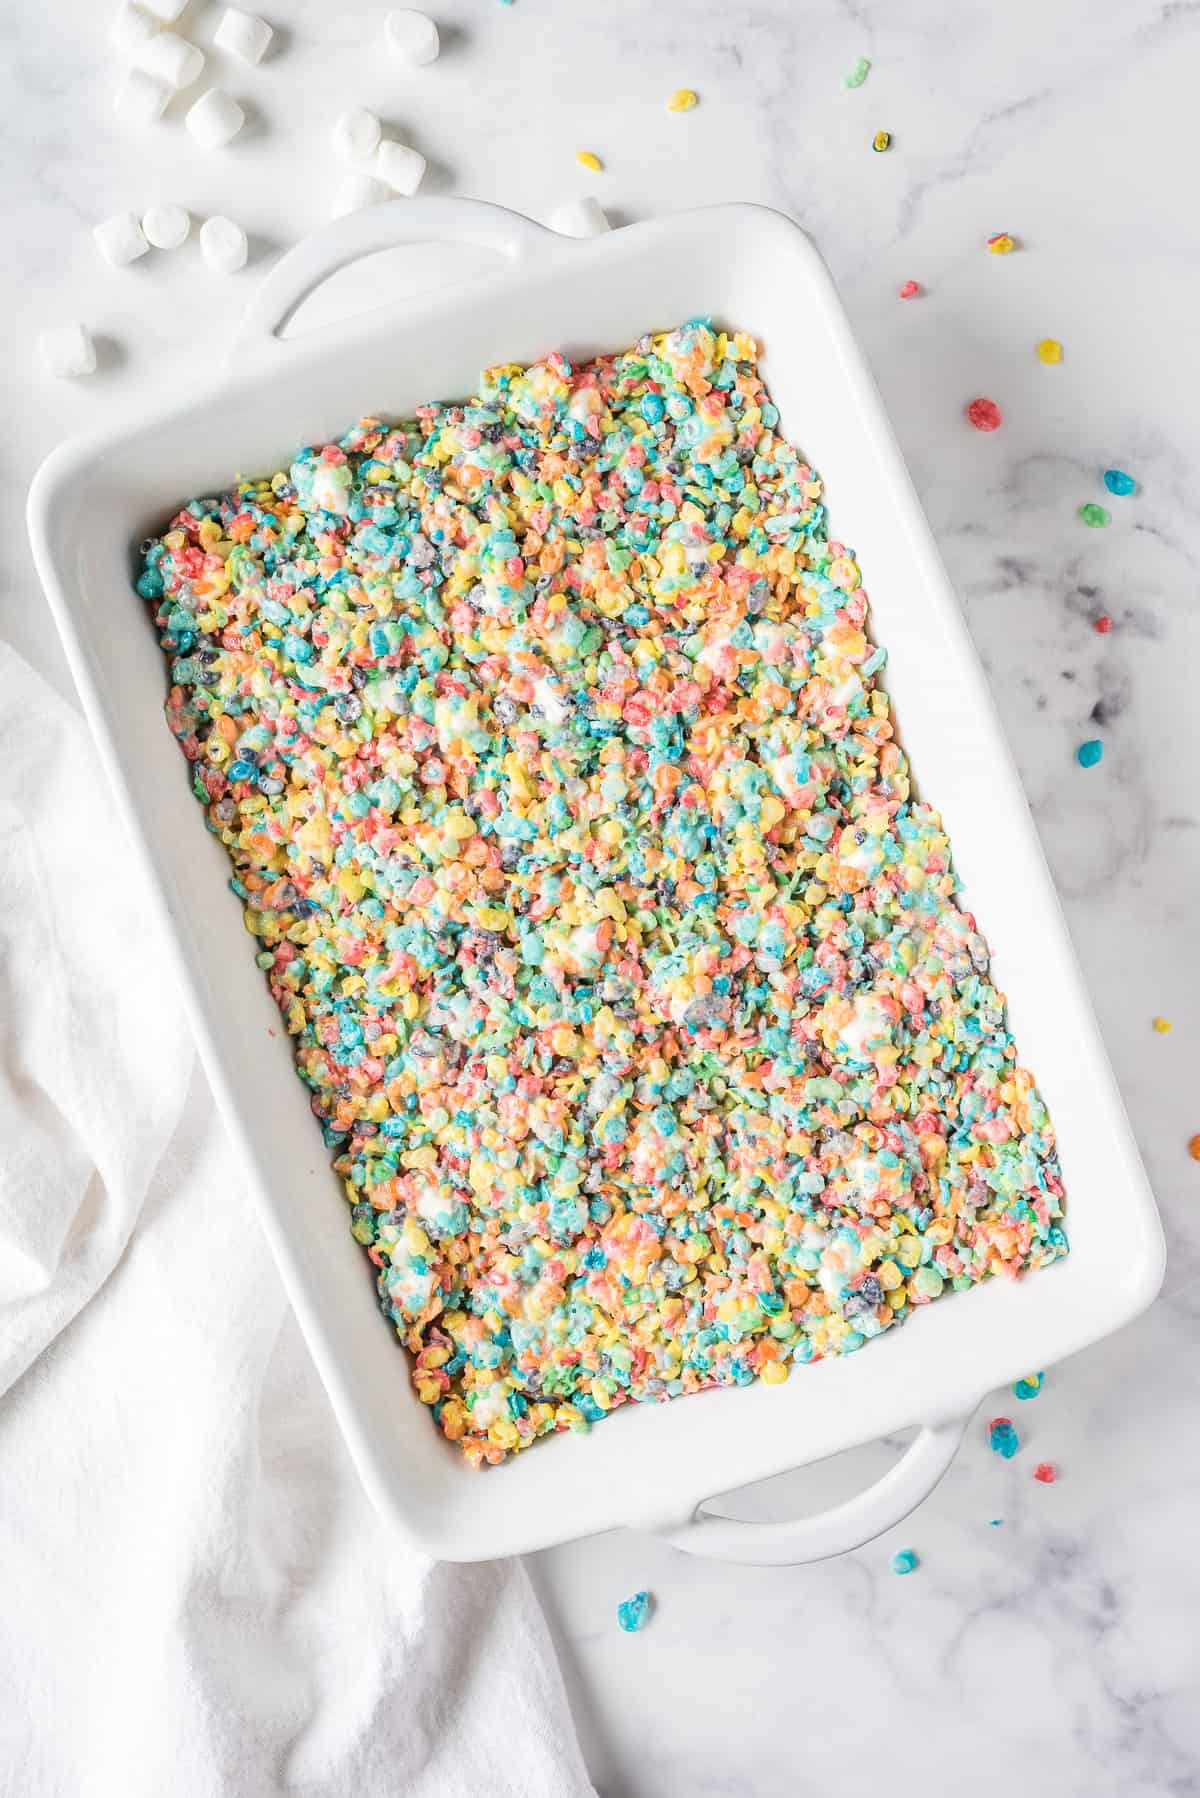
Pour the mixture into the prepared pan and press them down into an even layer. Let the fruity pebbles treats cool at room temperature for at least an hour.
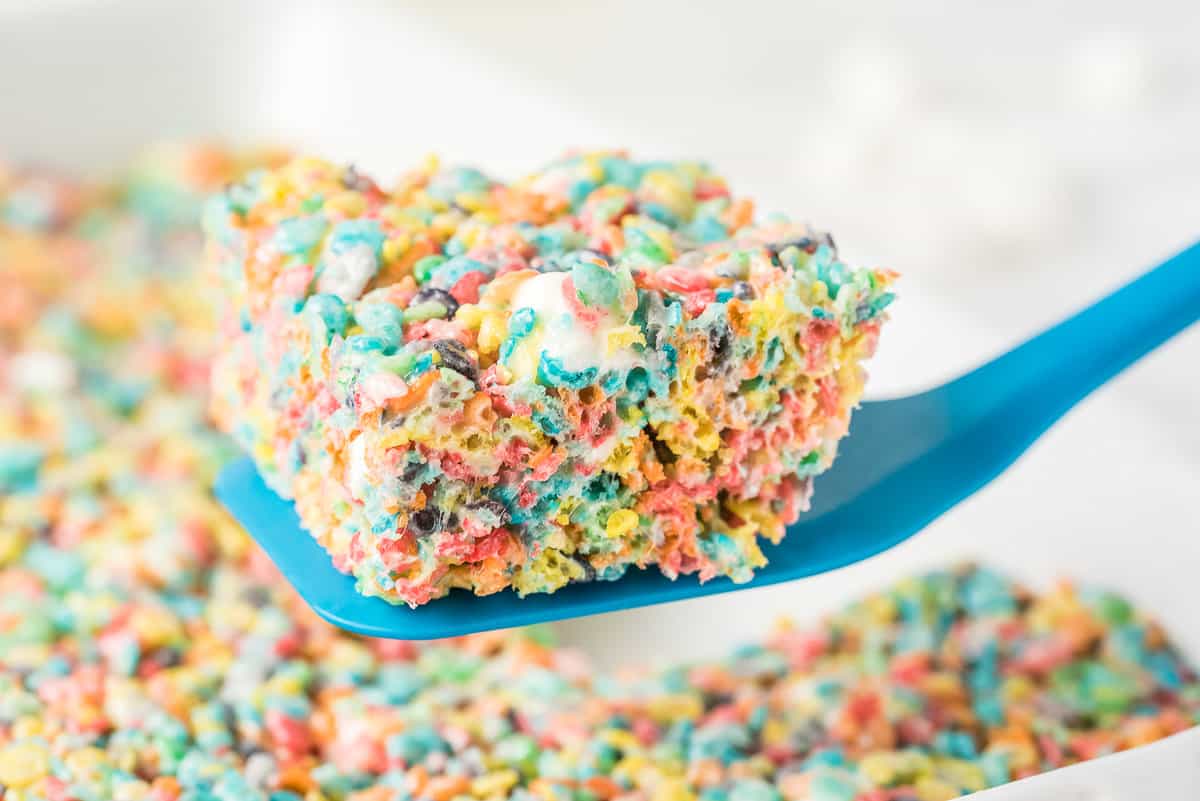
Then, if you used aluminum foil, lift the treats out of the pan and cut into squares. If you didn’t use foil, just cut the treats in the pan!
Serve when ready and enjoy!
How to Store Fruity Pebble Treats
Place leftovers from this fruity pebbles treats recipe into an airtight container or Ziplock bag. Store at room temperature for up to 3 days. You can pop a treat into the microwave for a few seconds before eating to make those marshmallows all gooey and warm again!
Can I use different cereal?
Of course! This recipe is quite similar to rice krispie treats, so you could use that cereal if it’s all you have on hand. Additionally, you could use cocoa pebbles or another rice cereal that is small in size.
Can I use a different size pan?
For thicker fruity pebbles treats, use an 8×8 pan. However, I do not recommend using a pan larger than 9×13, or your treats will end up too thin. If you decide to double recipe, I would do it in two separate batches and use two separate pans. The large the batch, the harder it is to work with before the marshmallows begin to set and the treats harden.
Why are my fruity pebble treats falling apart?
If your treats are falling apart after you cut into them, you may not have let them set long enough. Place them in the refrigerator for a bit, and see if they set. If you’re still experiencing problems after that, make sure you used the right amount ingredients. Try making them again and double check your measurements!
Pro Tips!
- We recommend buttering your fingers to help press the cereal treats into the pan. It will help keep less mixture sticking from sticking to your fingers! Damp fingers or a butter wrapper would also work to help press the mixture into the pan without getting it stuck to your fingers.
- Speed up the setting process by allowing the fruity pebble treats to cool in the refrigerator.
- Melt some white chocolate or milk chocolate and drizzle it on the top of your treats for extra yummy flavor.
With such an easy recipe, you won’t mind making endless batches of this delicious no-bake sweet treat!
More Cereal Recipes You’ll Love
- Puppy Chow is a favorite around the holidays, but you can absolutely make it any time of the year!
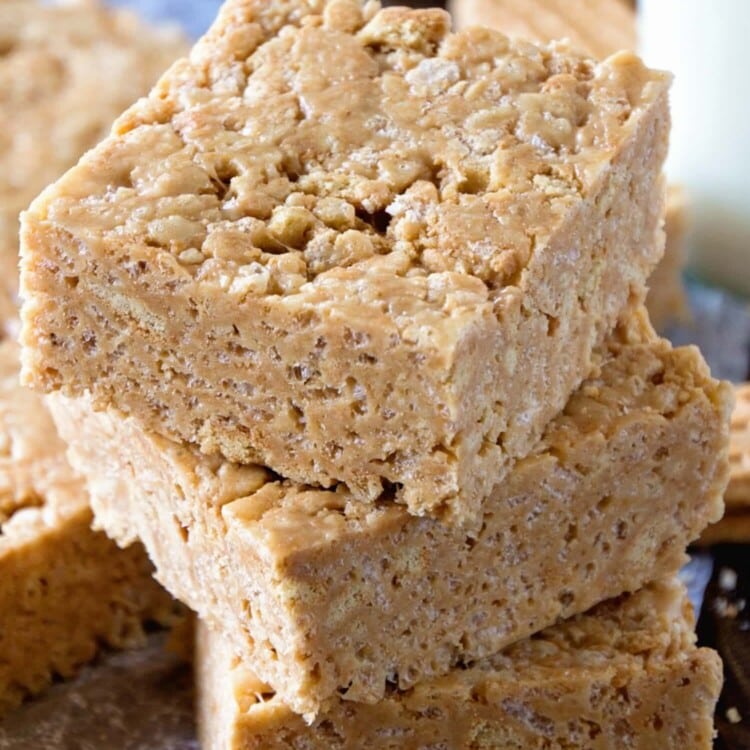
- These Special K Bars are loaded with peanut butter, chocolate, and butterscotch. The cereal is really just the vehicle for all the delicious add-ins!
- Use some Chex cereal in this super tasty Taco Chex Mix Recipe.
- Make some Lucky Leprechaun Munch around St. Patrick’s Day…or just for funzies!
Did you make this? If you snap a photo, please be sure tag me on Instagram at @julieseatsandtreats or #julieseatsandtreats so I can see your yummy treat!
Fruity Pebble Treats
Chewy, gooey and so easy to make! These easy no-bake Fruity Pebbles Treats are a hit dessert every time.
Bars
Ingredients
- 12 Tablespoons butter
- 2 bags mini marshmallows 10 oz each, divided
- 1 teaspoon vanilla extract
- 8 ½ cups Fruity Pebbles
Instructions
- Spray a 9’’ x 13’’ pan with non-stick spray or line with heavy duty aluminum foil greased with non-stick spray. If using foil let it drape over the sides of the pan for easy removal of bars. Set aside.
- Remove two cups of marshmallows and set aside.
- Next, slice butter into thin slabs so it will melt quicker in the microwave.
- In a large microwave safe container place the butter slabs and remaining marshmallows. Microwave for 2 minutes. Remove and stir until butter and marshmallows are melted and combined. Add vanilla and mix to combine.
- Quickly mix in cereal and stir until it is combined. Add reserved marshmallows and stir until they are softened and partially melted. You do not want them to completely melt as they provide those delicious pockets of marshmallow goo.
- Press mixture into prepared pan. We recommend buttering your fingers to help press them into the pan with less mixture sticking to them or use the butter wrapper to push the mixture into the pan. Damp fingers also work to help press the mixture into the pan without getting it stuck to your fingers.
- Let cool at room temperature for at least an hour.
- If you used foil you can lift the treats onto a cutting board and cut into pieces.
- Otherwise cut them in the pan.

Tips
Place leftovers from this fruity pebbles treats recipe into an airtight container or Ziplock bag. Store at room temperature for up to 3 days.
Nutrition Information
Serving: 1Bar, Calories: 129kcal (6%), Carbohydrates: 15g (5%), Protein: 1g (2%), Fat: 7g (11%), Saturated Fat: 5g (31%), Polyunsaturated Fat: 0.3g, Monounsaturated Fat: 2g, Trans Fat: 0.3g, Cholesterol: 18mg (6%), Sodium: 144mg (6%), Potassium: 15mg, Fiber: 0.1g, Sugar: 6g (7%), Vitamin A: 635IU (13%), Vitamin C: 4mg (5%), Calcium: 5mg (1%), Iron: 1mg (6%)
Leave a Comment